
A Practical Way To Learn Doll Making
DollCraft focuses on the physical steps behind a handmade doll: tracing, cutting, sewing, turning, stuffing, joining, and finishing each part with care.
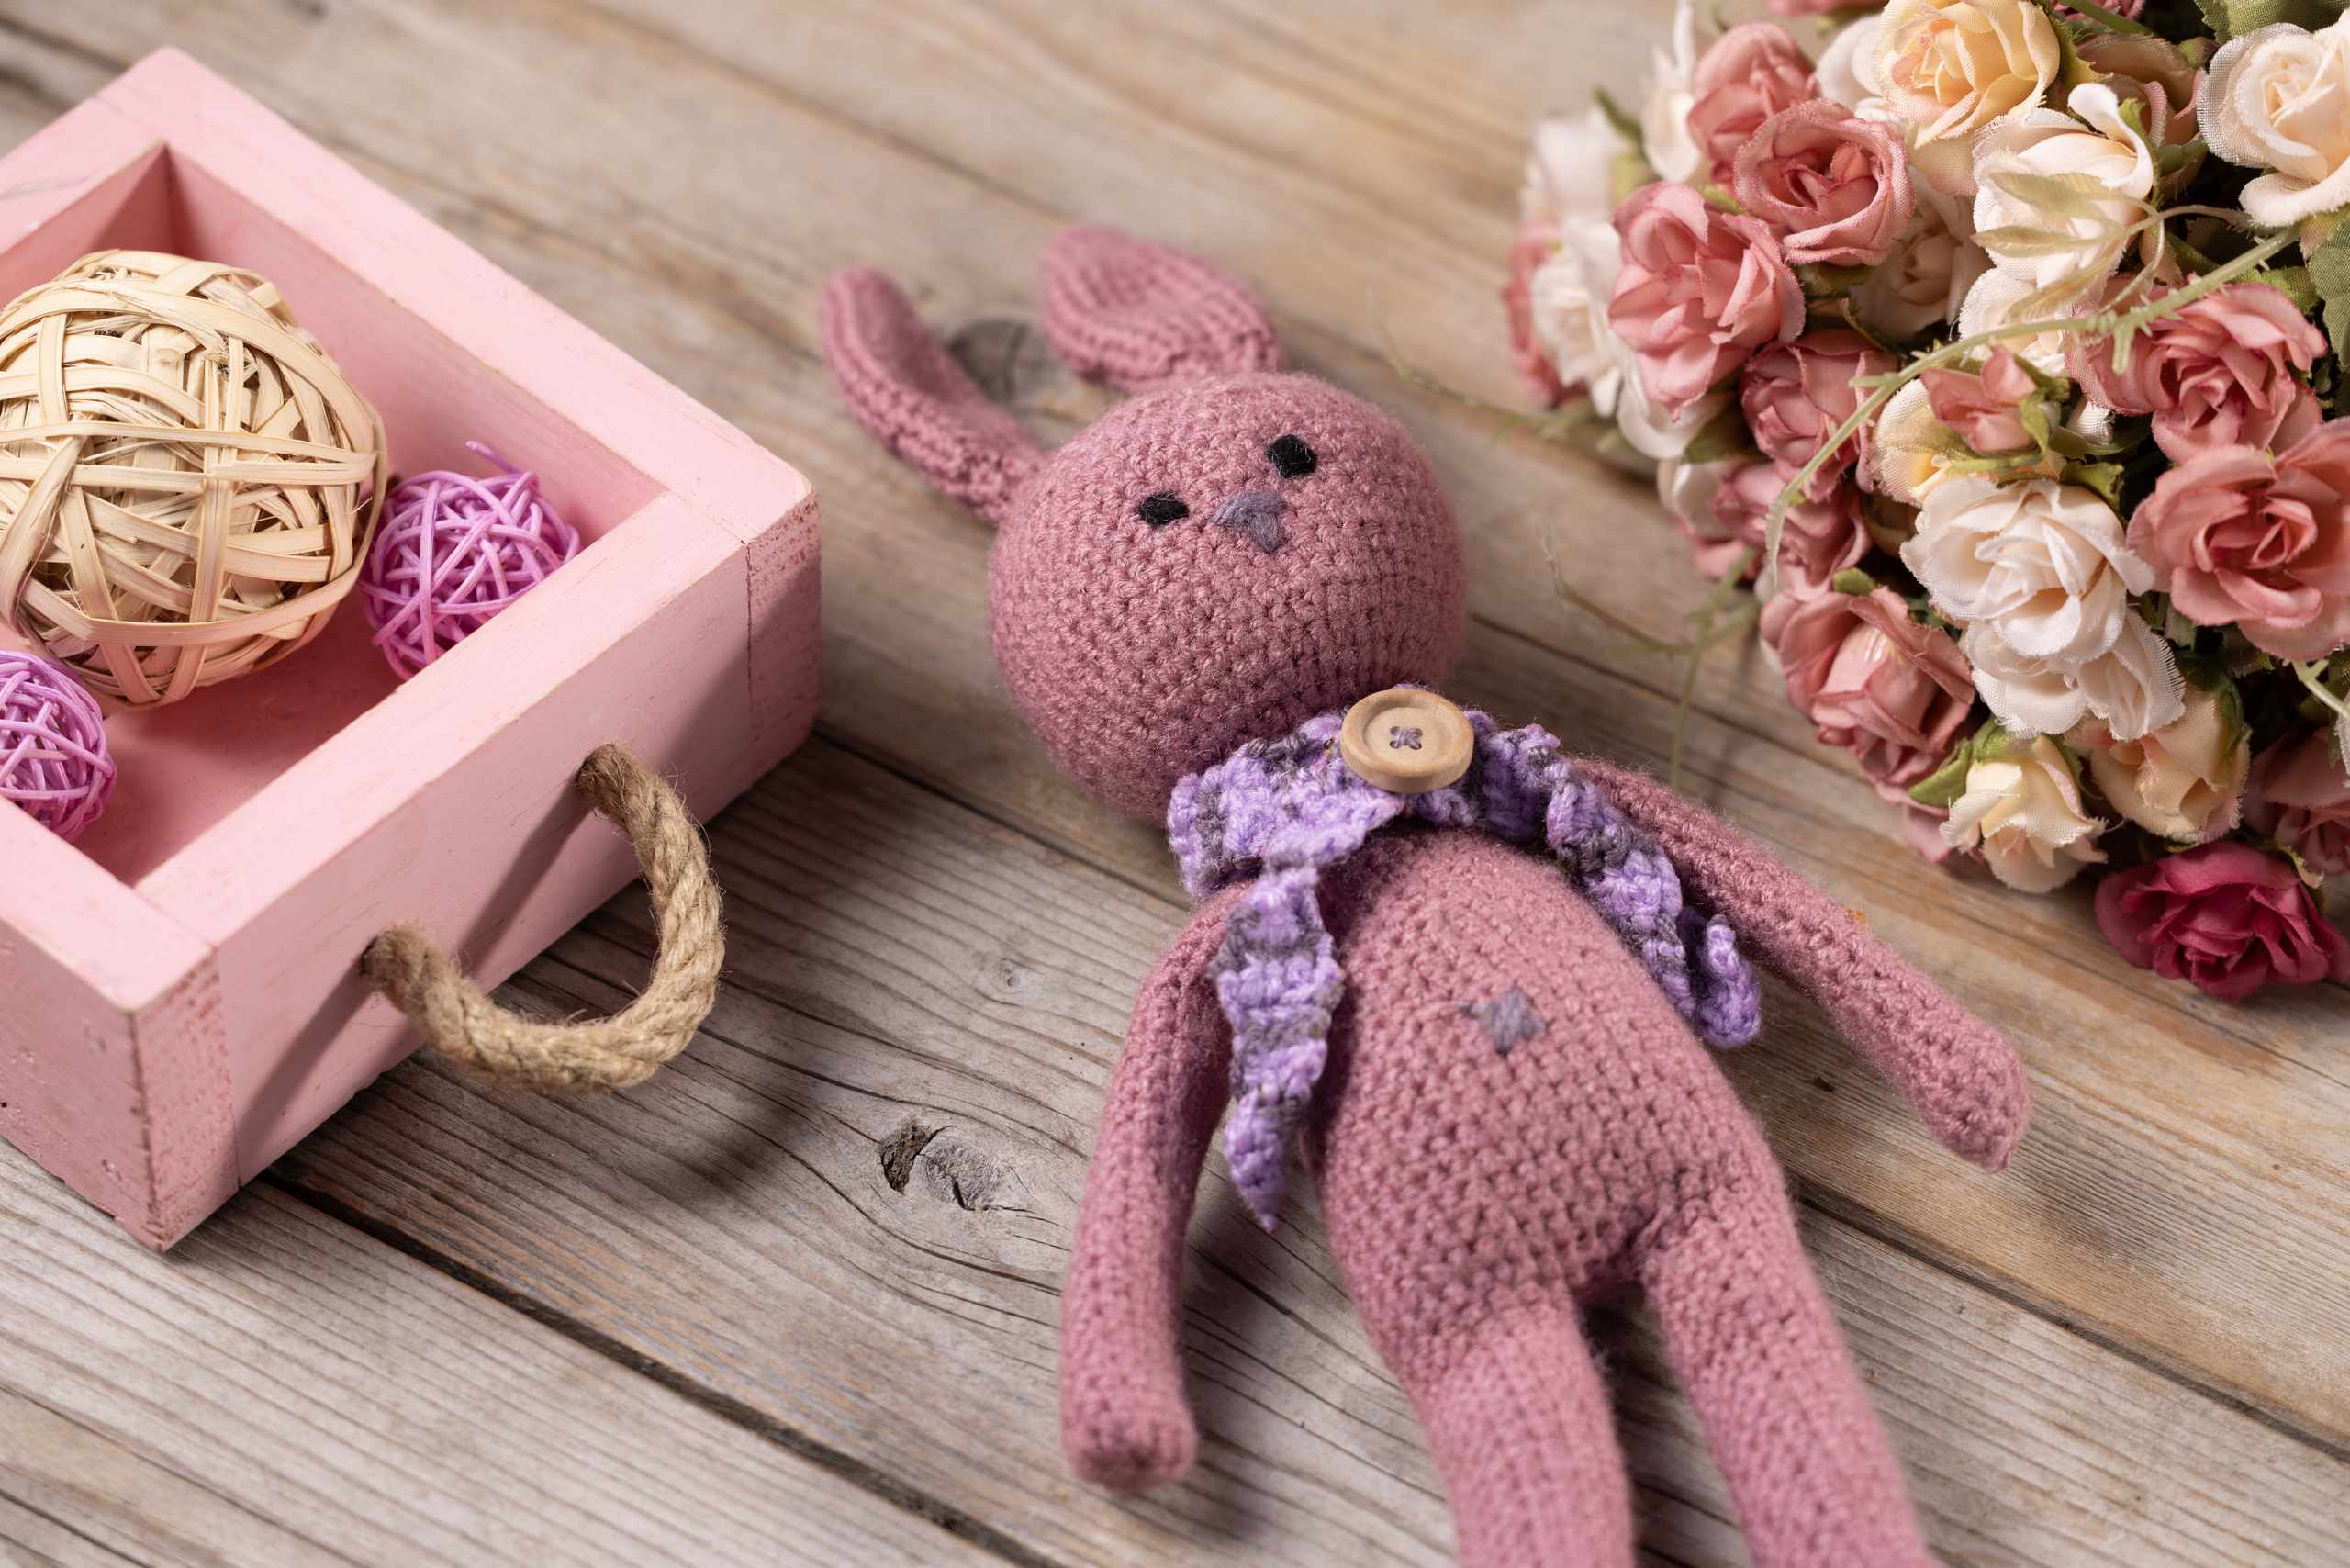
Construction Before Decoration
A doll becomes easier to decorate when the underlying body already works. Stable seams, even stuffing, balanced limbs, and clean closures create a better base for embroidered features, yarn hair, and clothing.
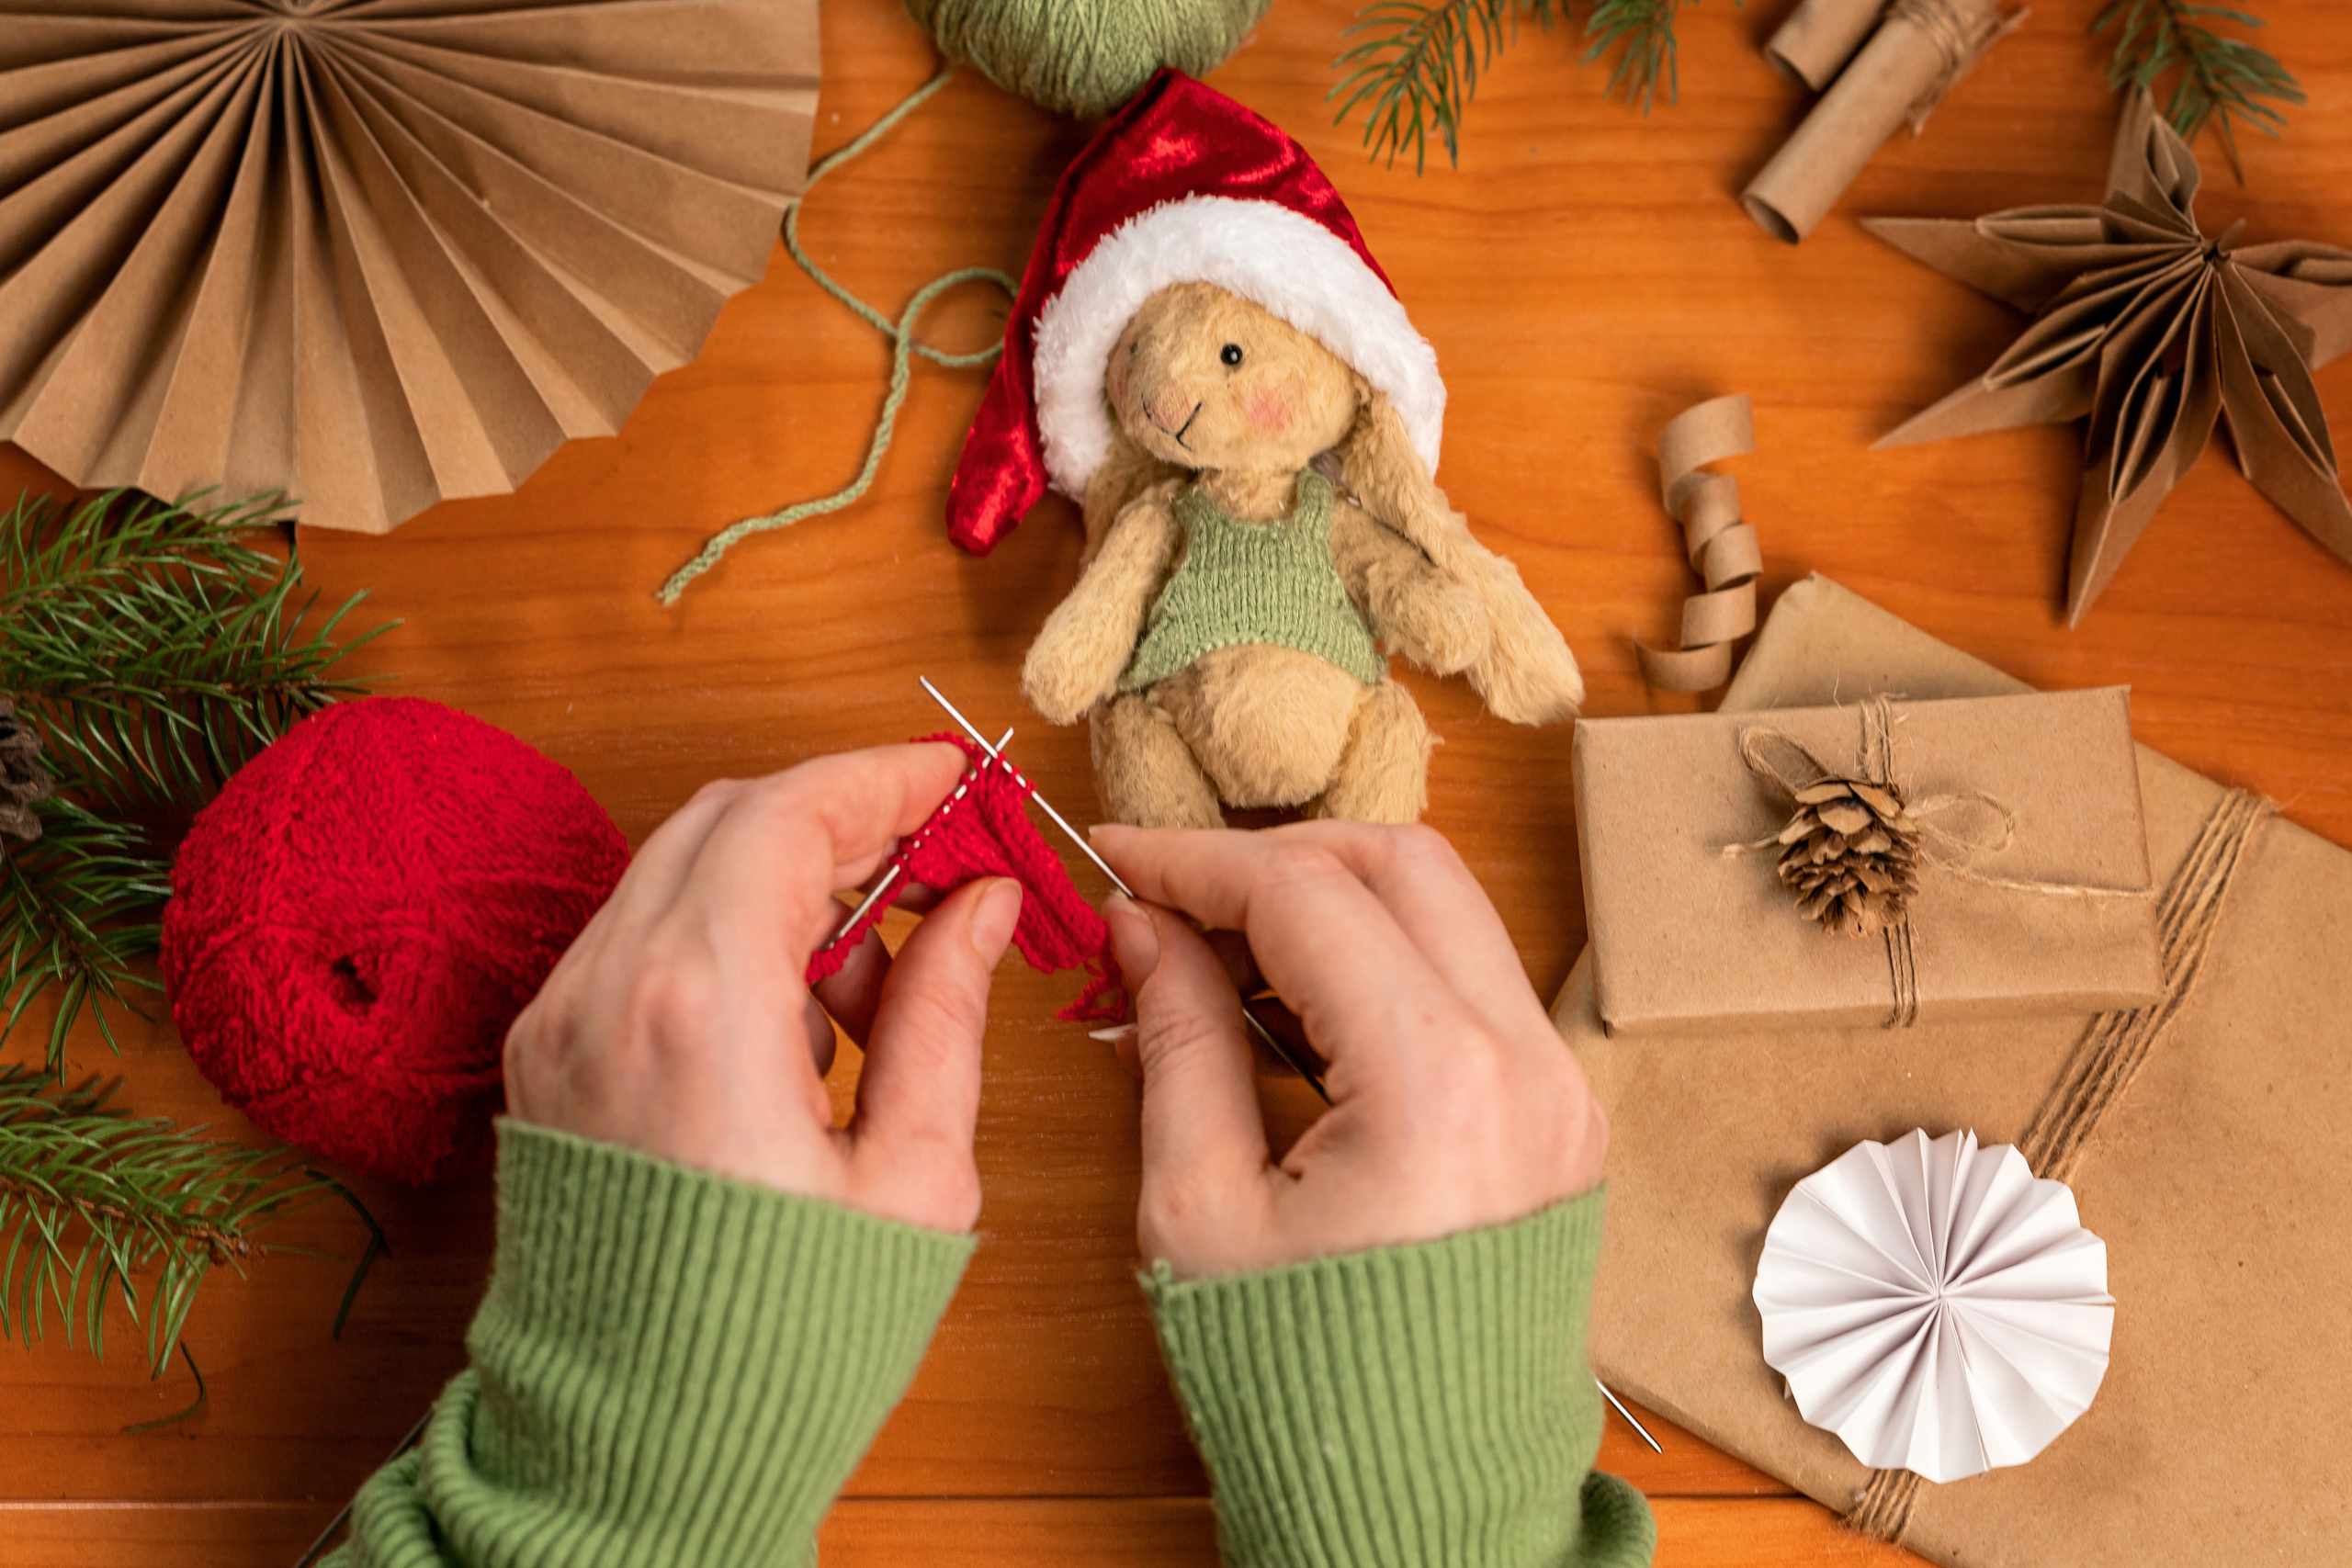
Small Tests Before Final Pieces
Scrap fabric can be used to test tight curves, turning openings, closing stitches, and hair attachment. A small sample makes it easier to understand the technique before using the main doll pieces.
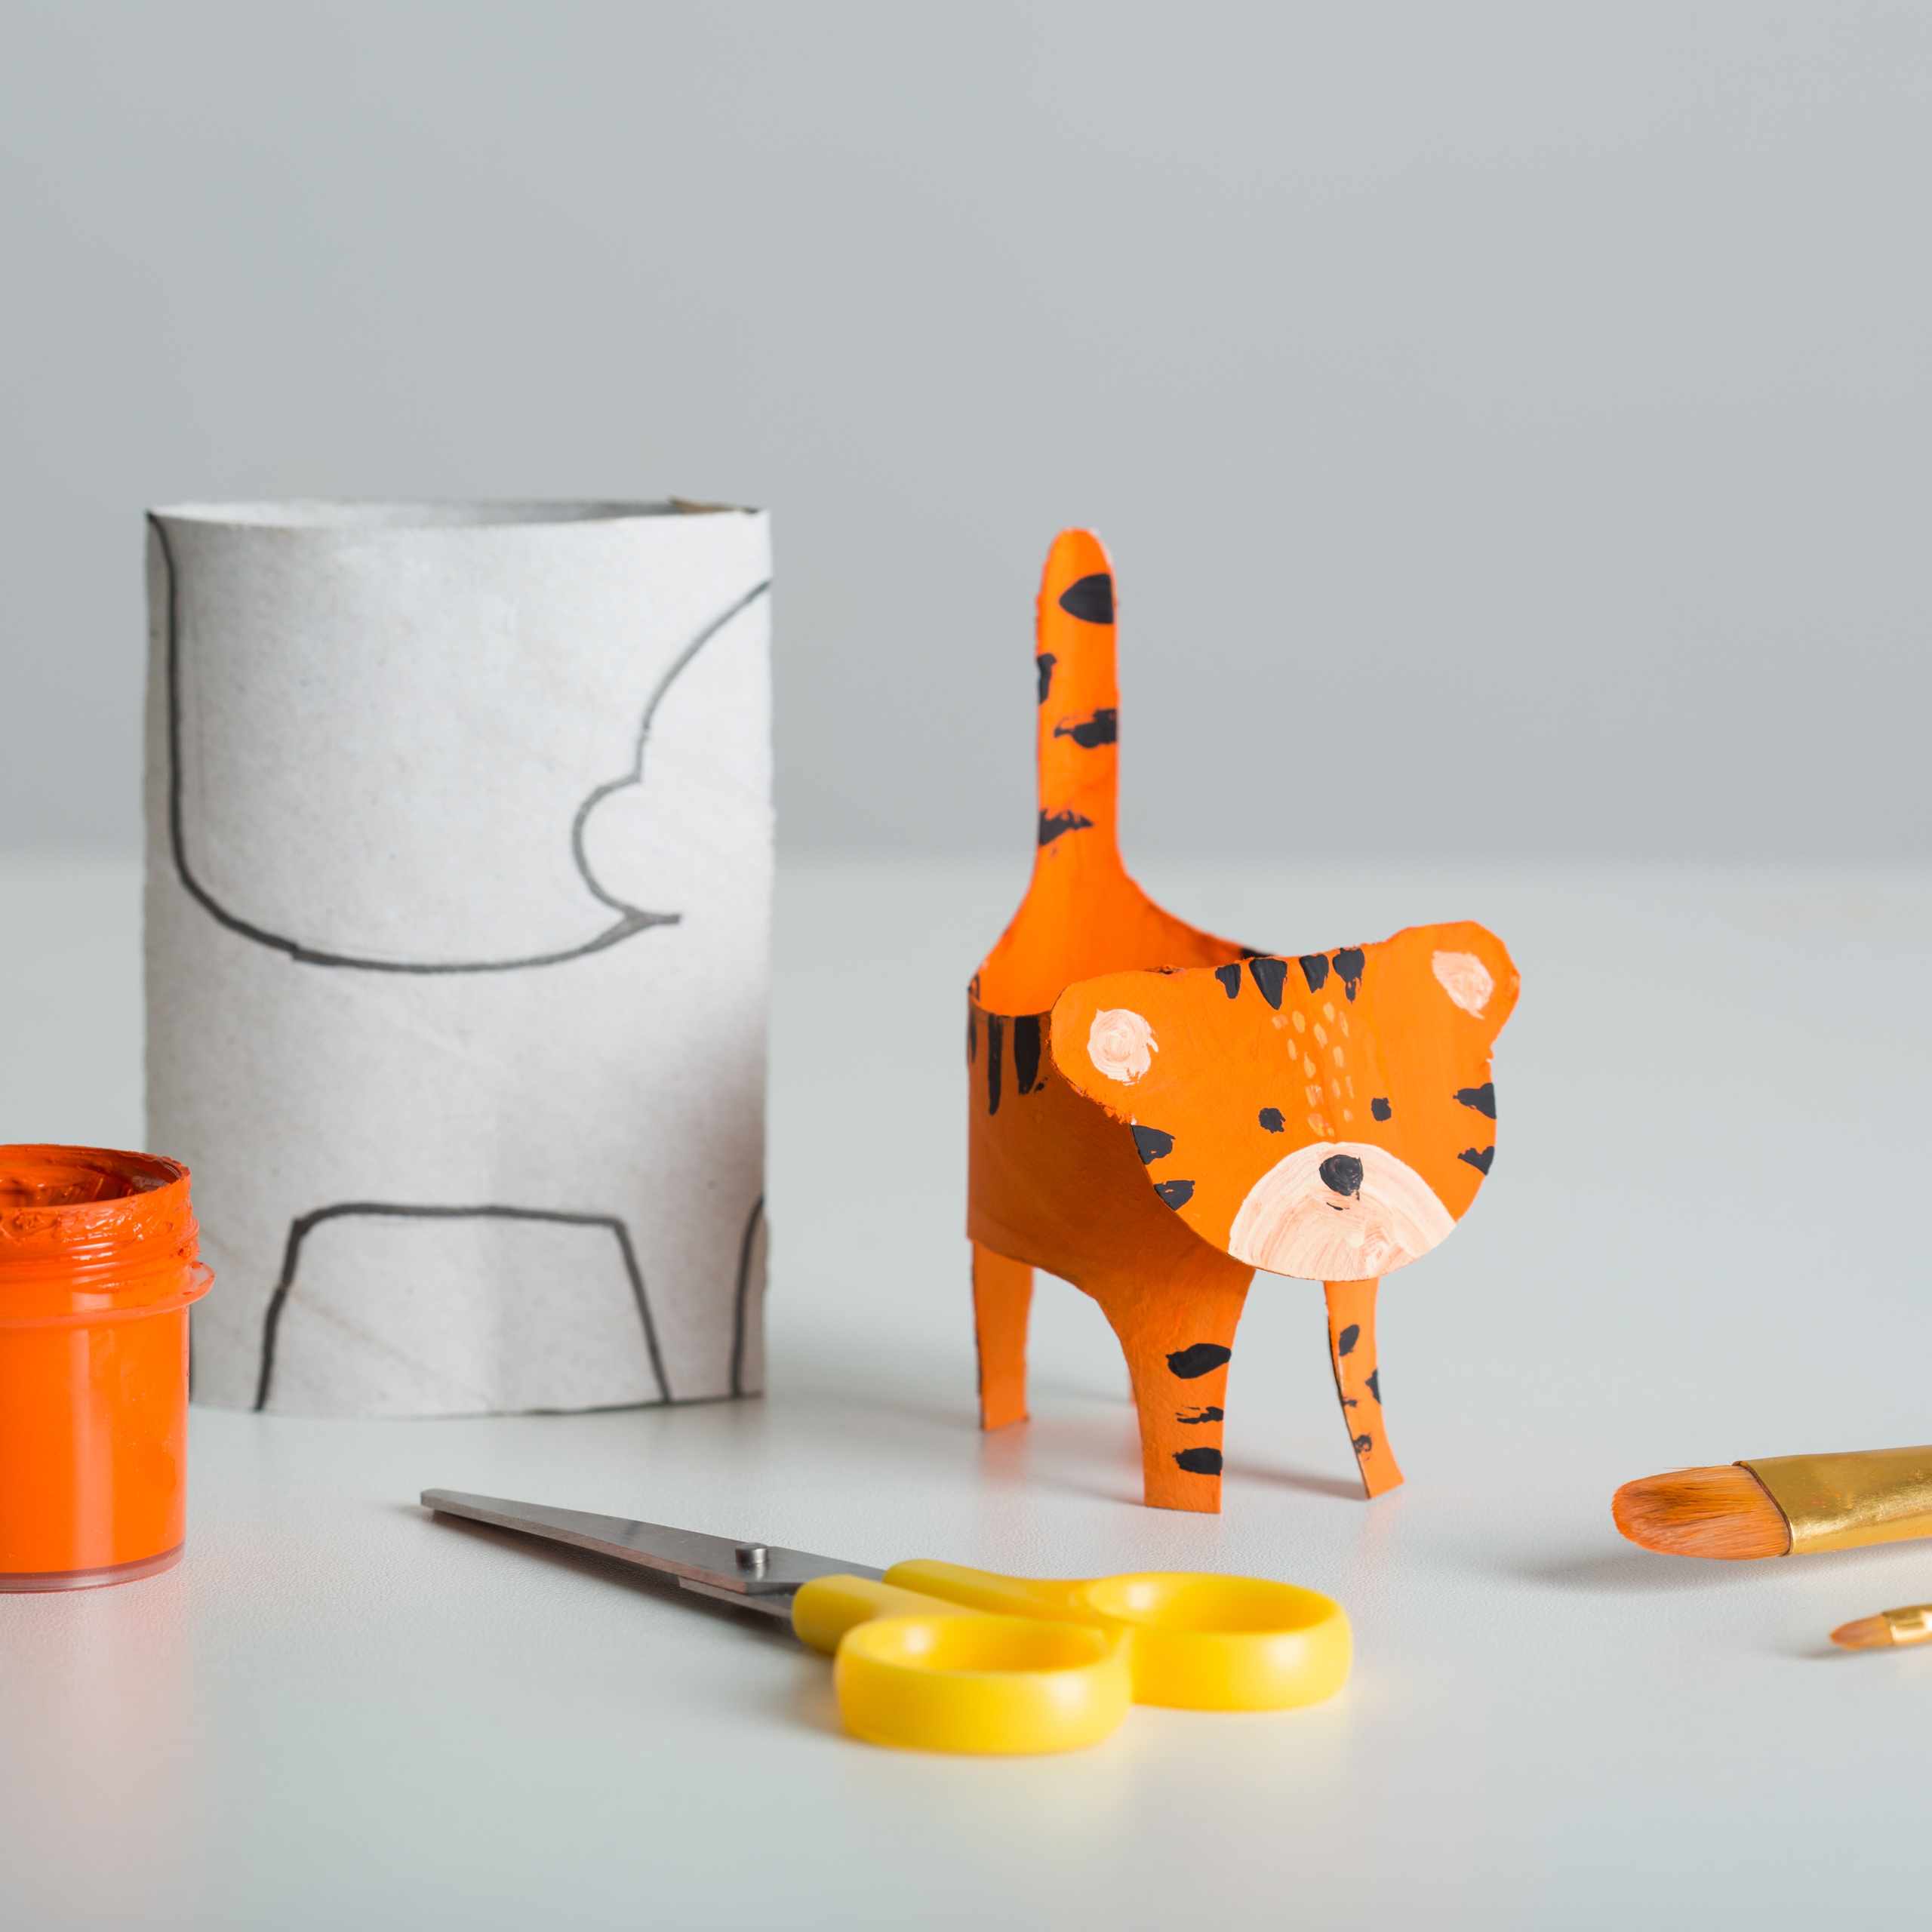
Build The Shape First
Give proportion, seams, stuffing, and assembly attention before adding decorative details.
Test Before Committing
Use scrap fabric, sample seams, and temporary placement before making permanent changes.
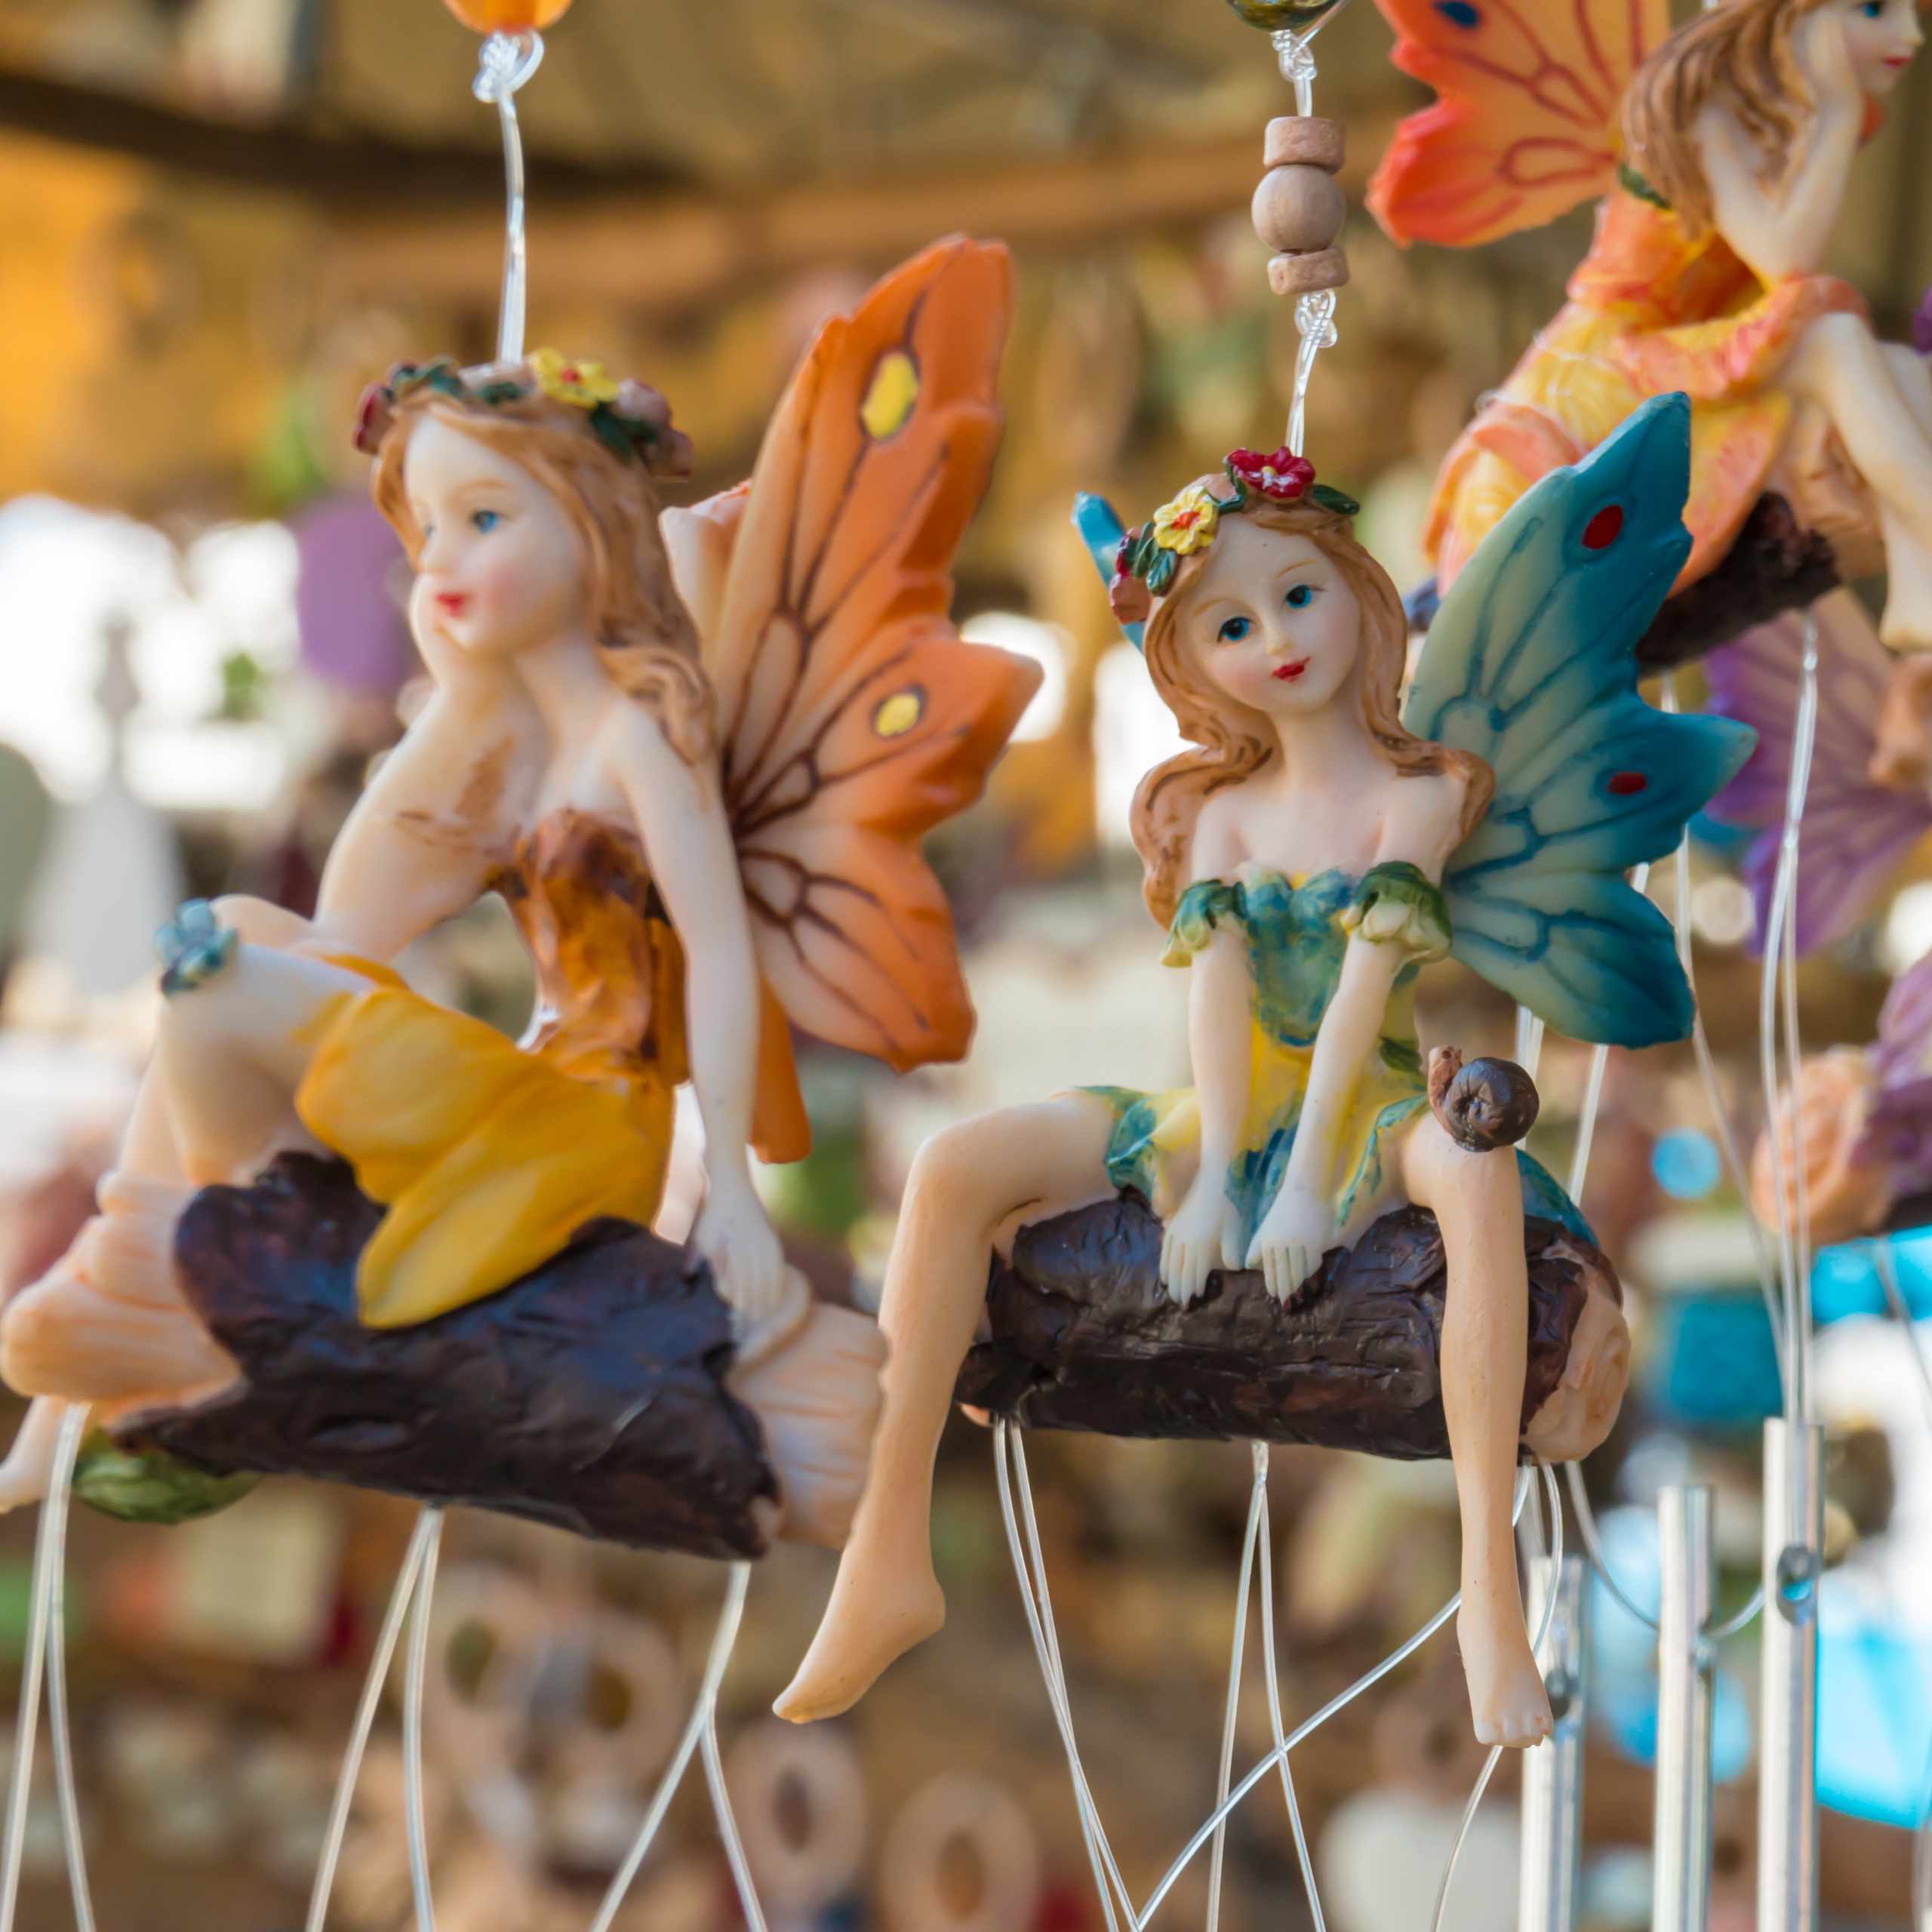
Compare As You Work
Check paired limbs, firmness, and facial placement while corrections remain manageable.
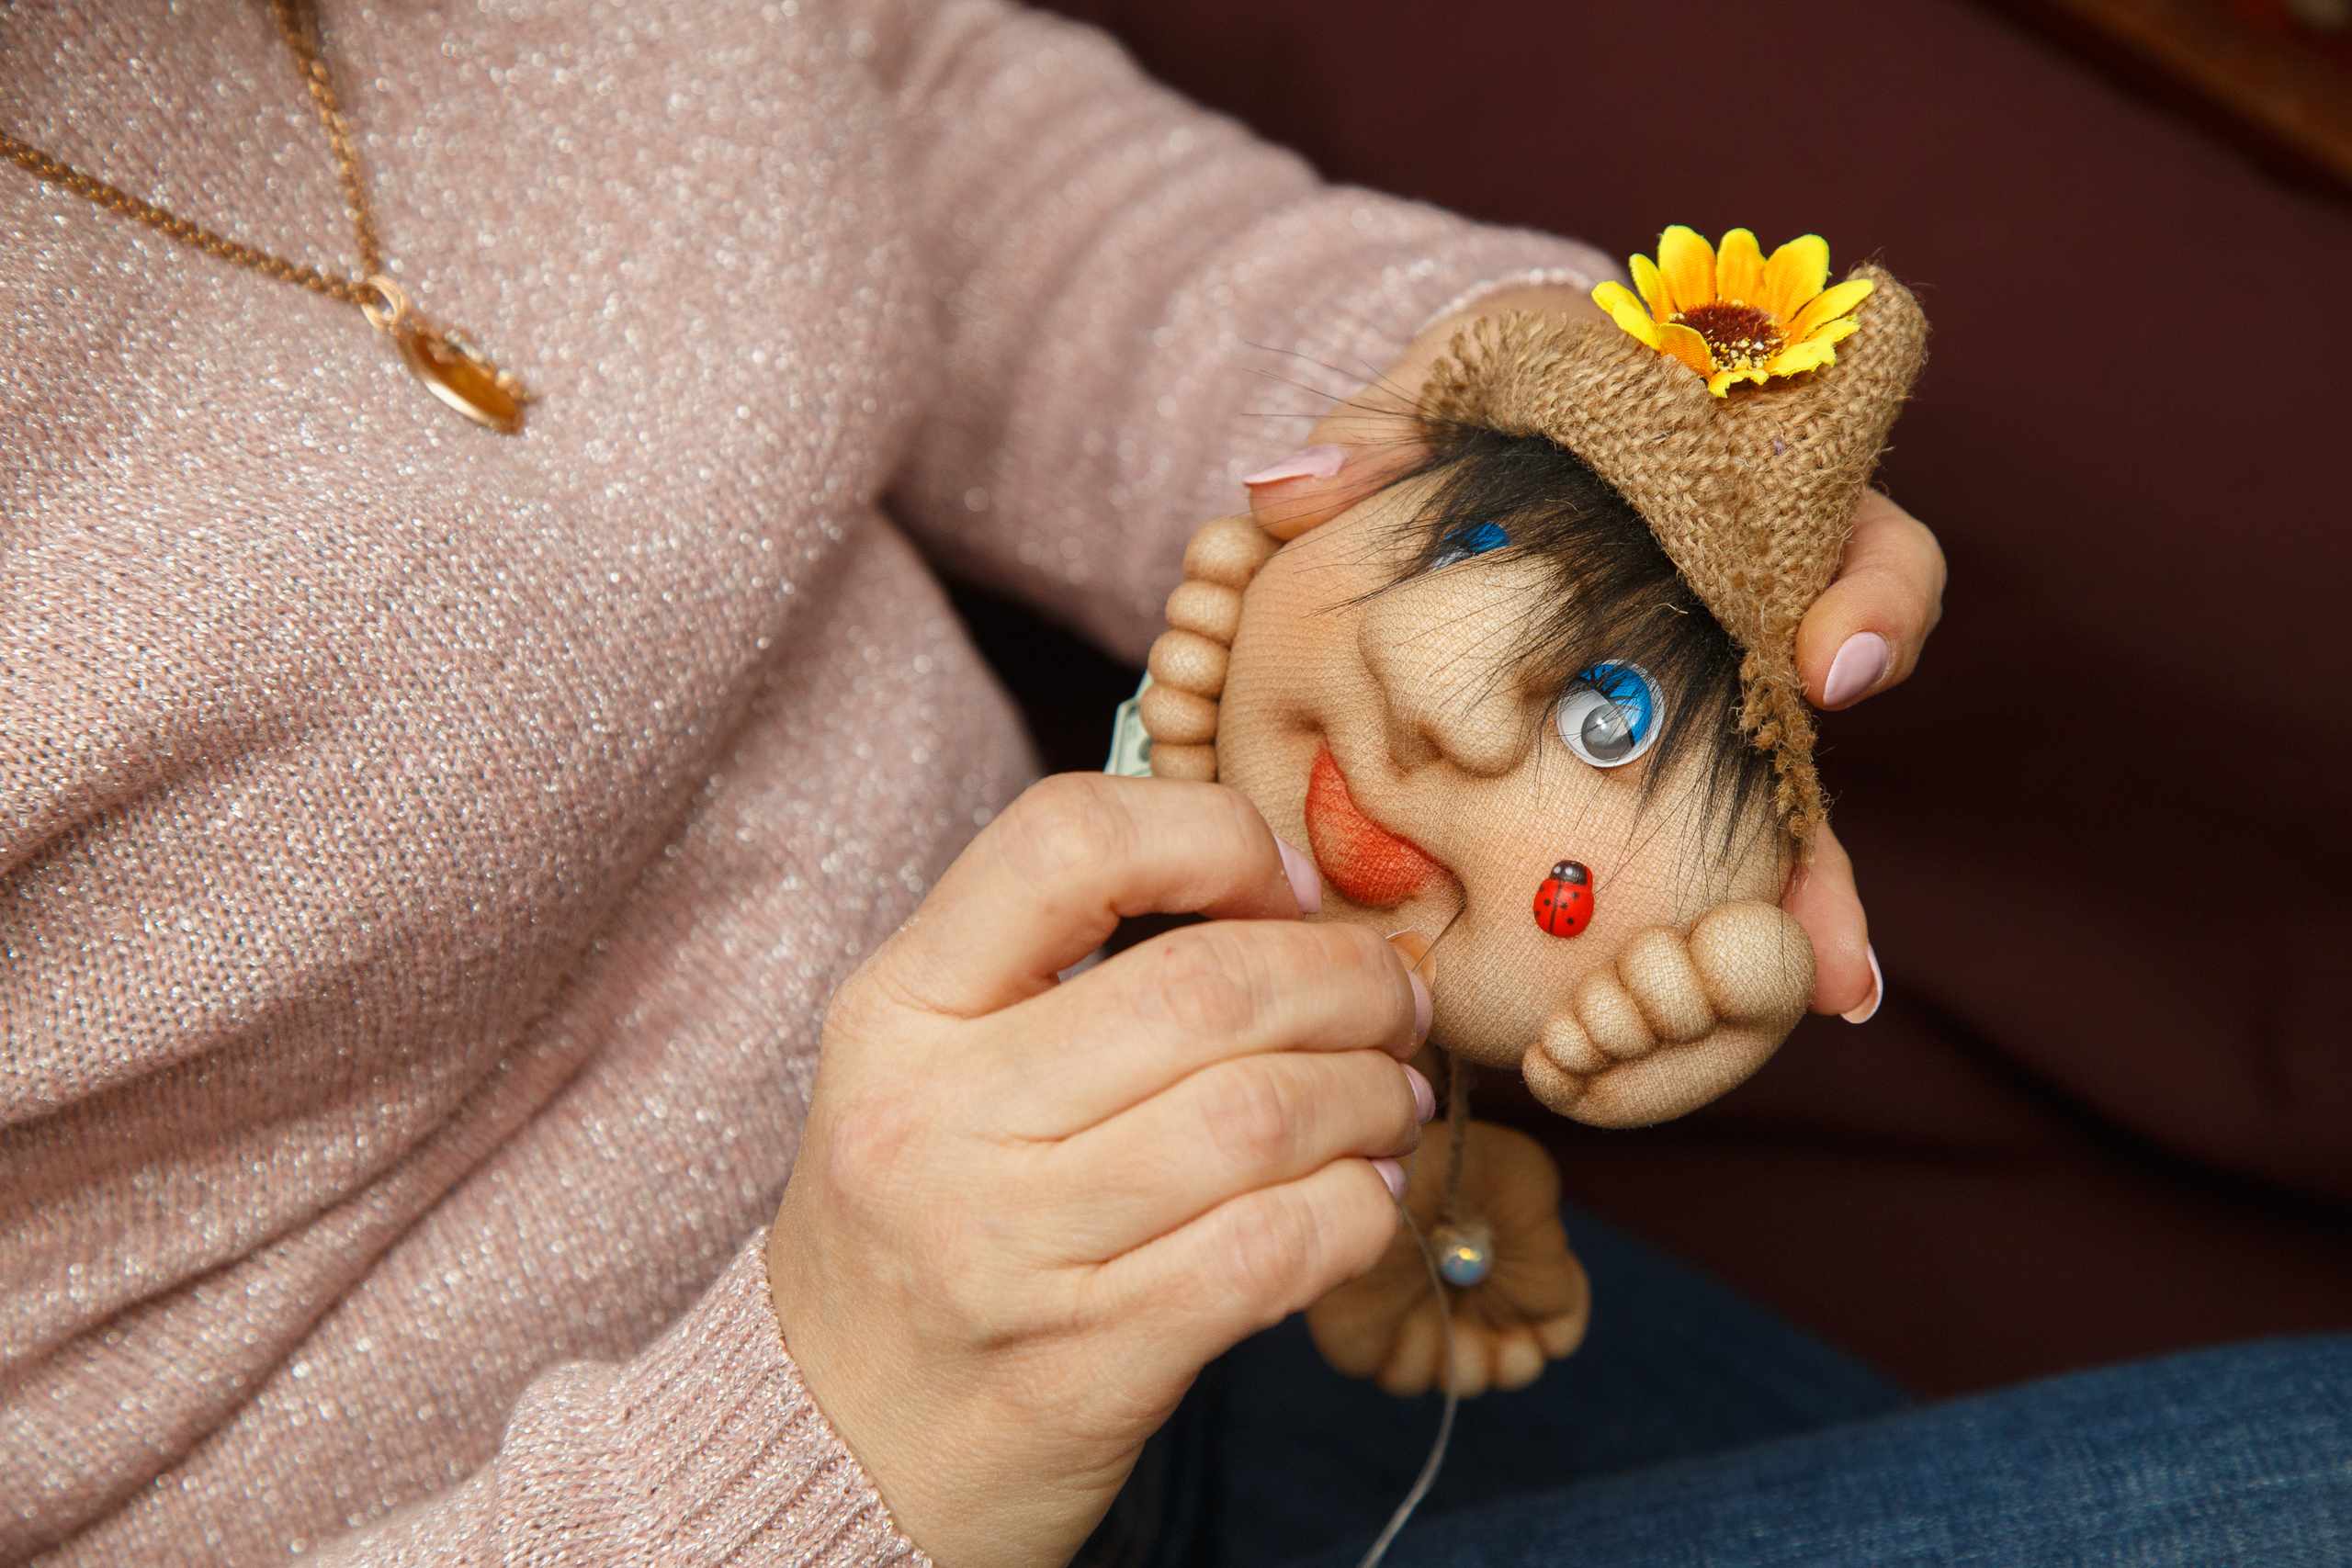
Corrections Are Part Of Making
An uneven seam, lumpy section, or twisted limb points back to a specific construction stage. Looking at the cause helps turn a visible problem into something practical that can be adjusted.

Details Follow The Finished Form
Facial placement, hairline, and miniature clothing are easier to judge after the head and body have their final stuffed shape. This keeps decoration connected to the actual proportions of the doll.
What Learners Notice In Their Practice
Learner feedback often centers on small construction details becoming easier to see, compare, and correct during a doll project.
Working on paired pieces side by side helped me notice differences before assembly. My arms and legs became much easier to balance.

Testing seams on scrap fabric made the main doll pieces less intimidating. I could see where my stitching changed and correct it before sewing the fabric.