
Make Your First Handmade Doll
Practice the core stages of doll making, from tracing and sewing body pieces to stuffing, assembly, facial placement, hair, clothing, and clean finishing.
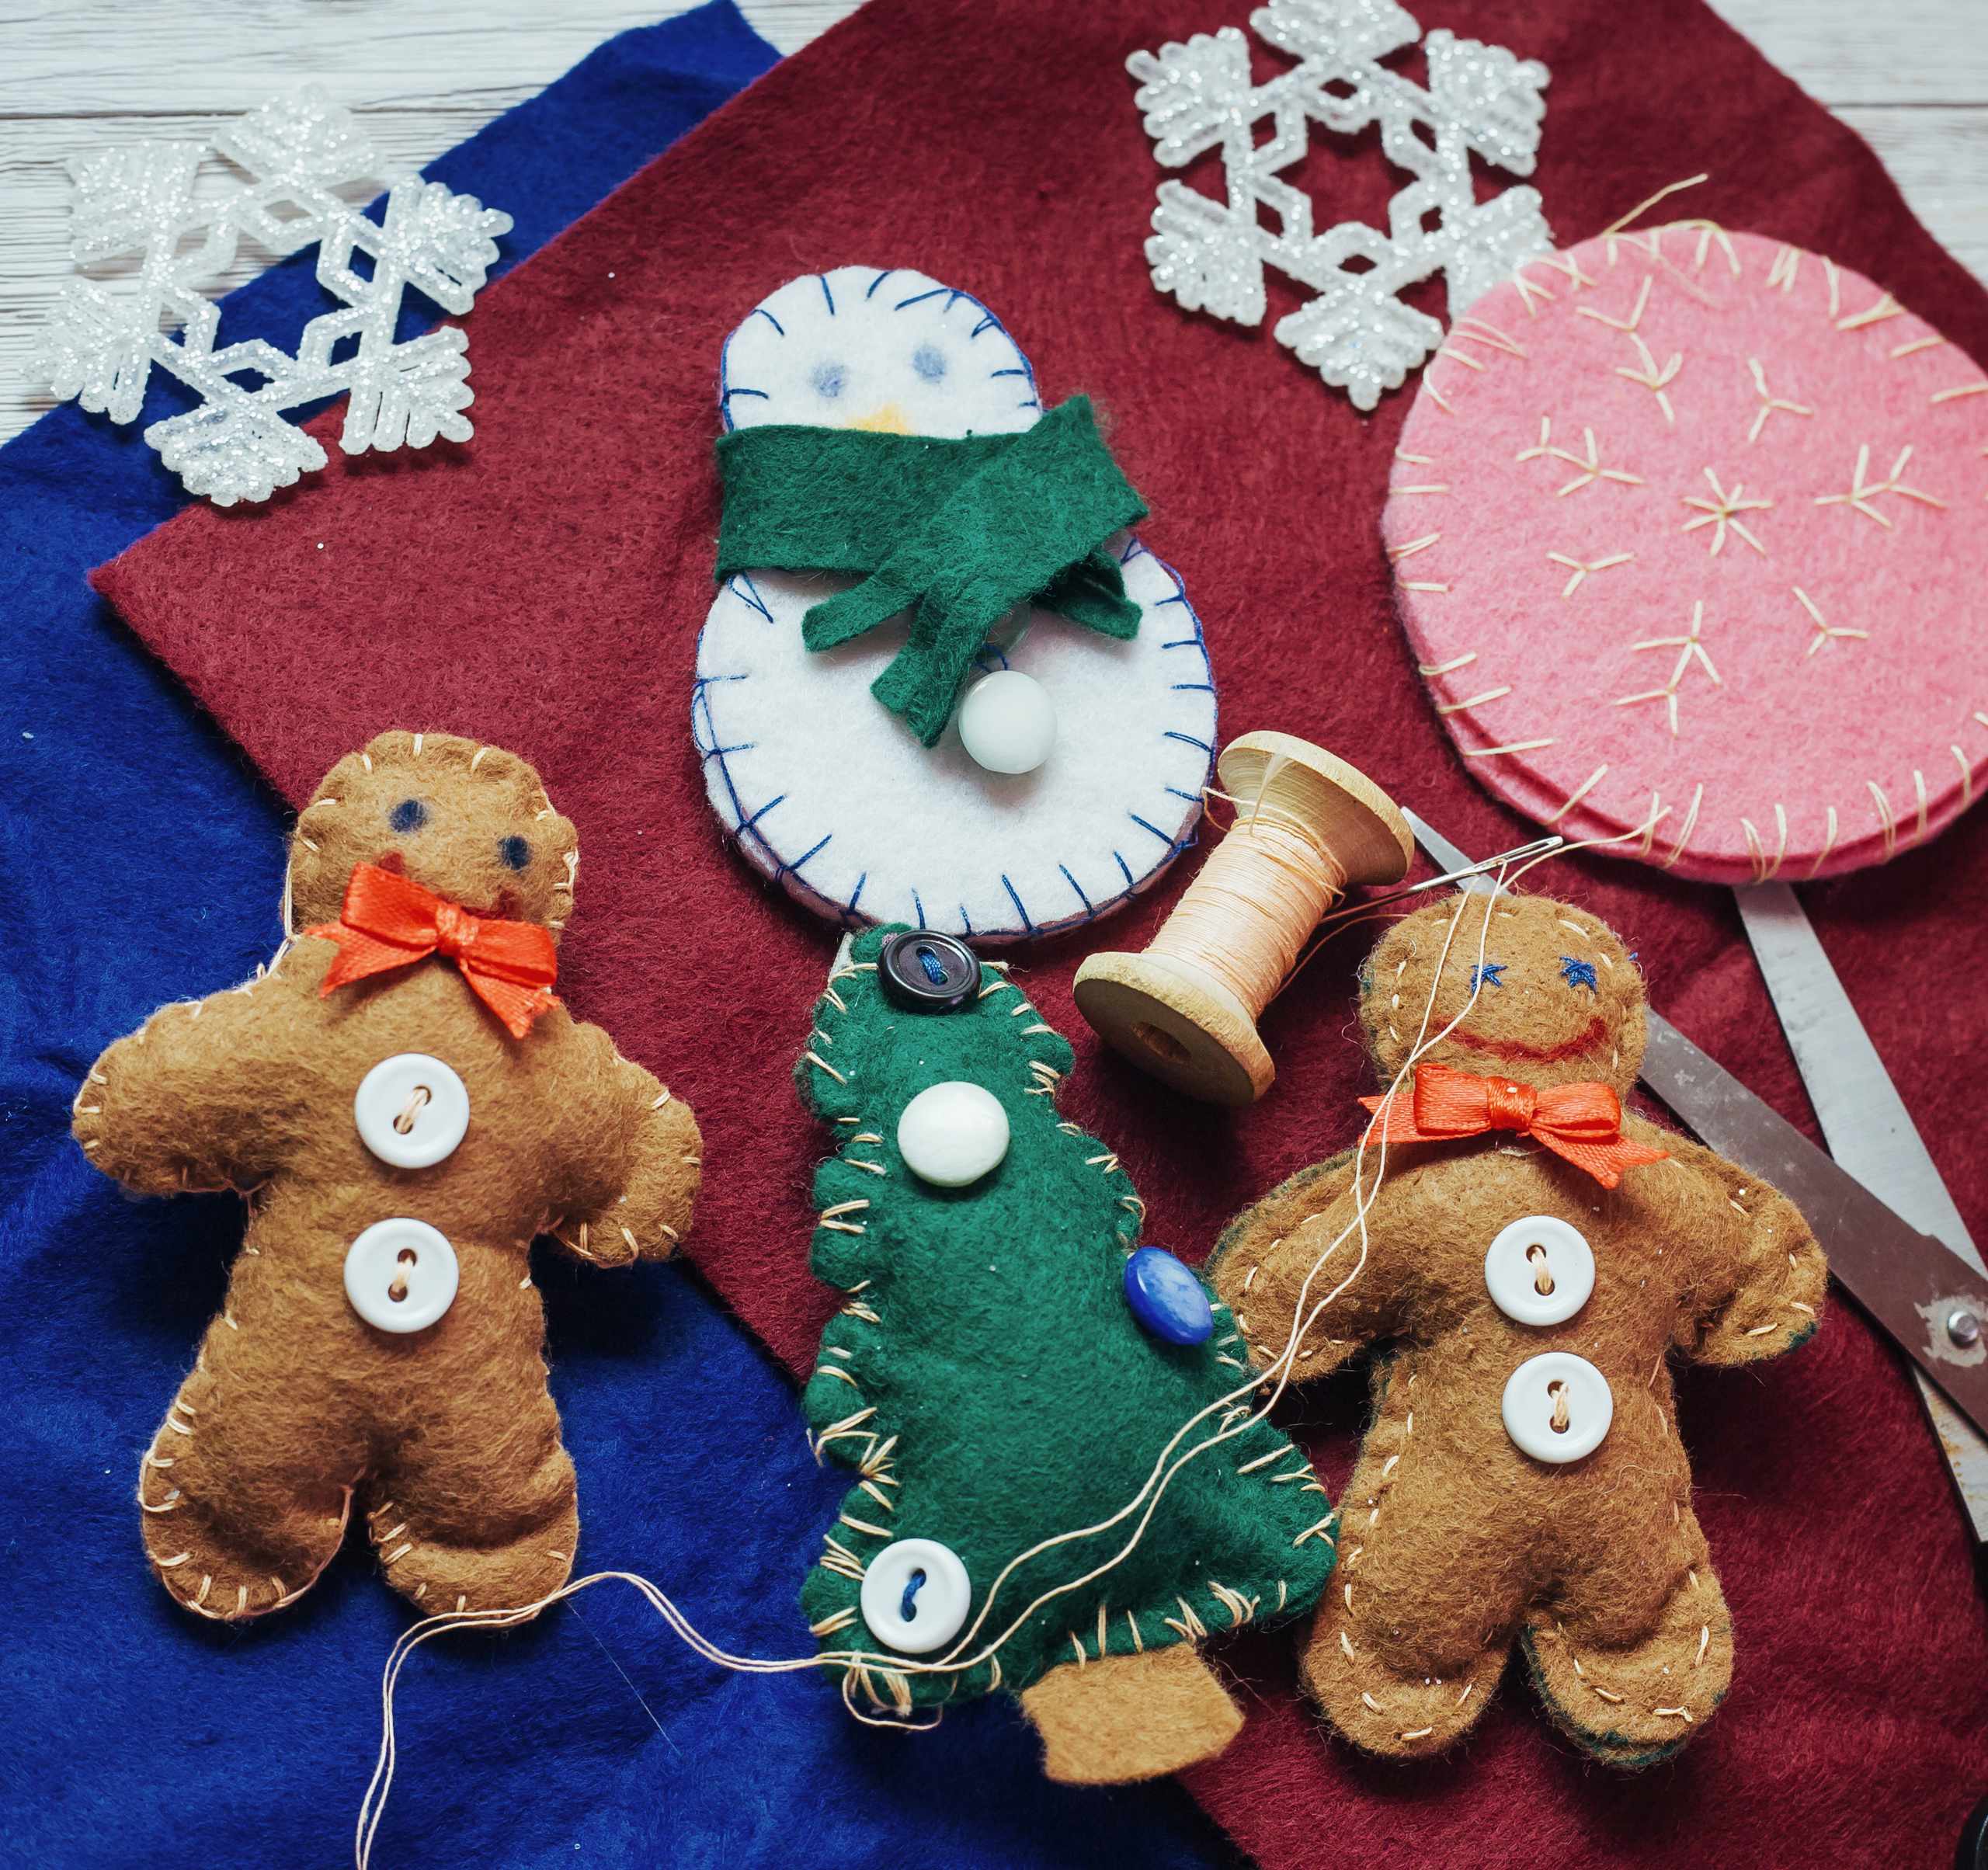
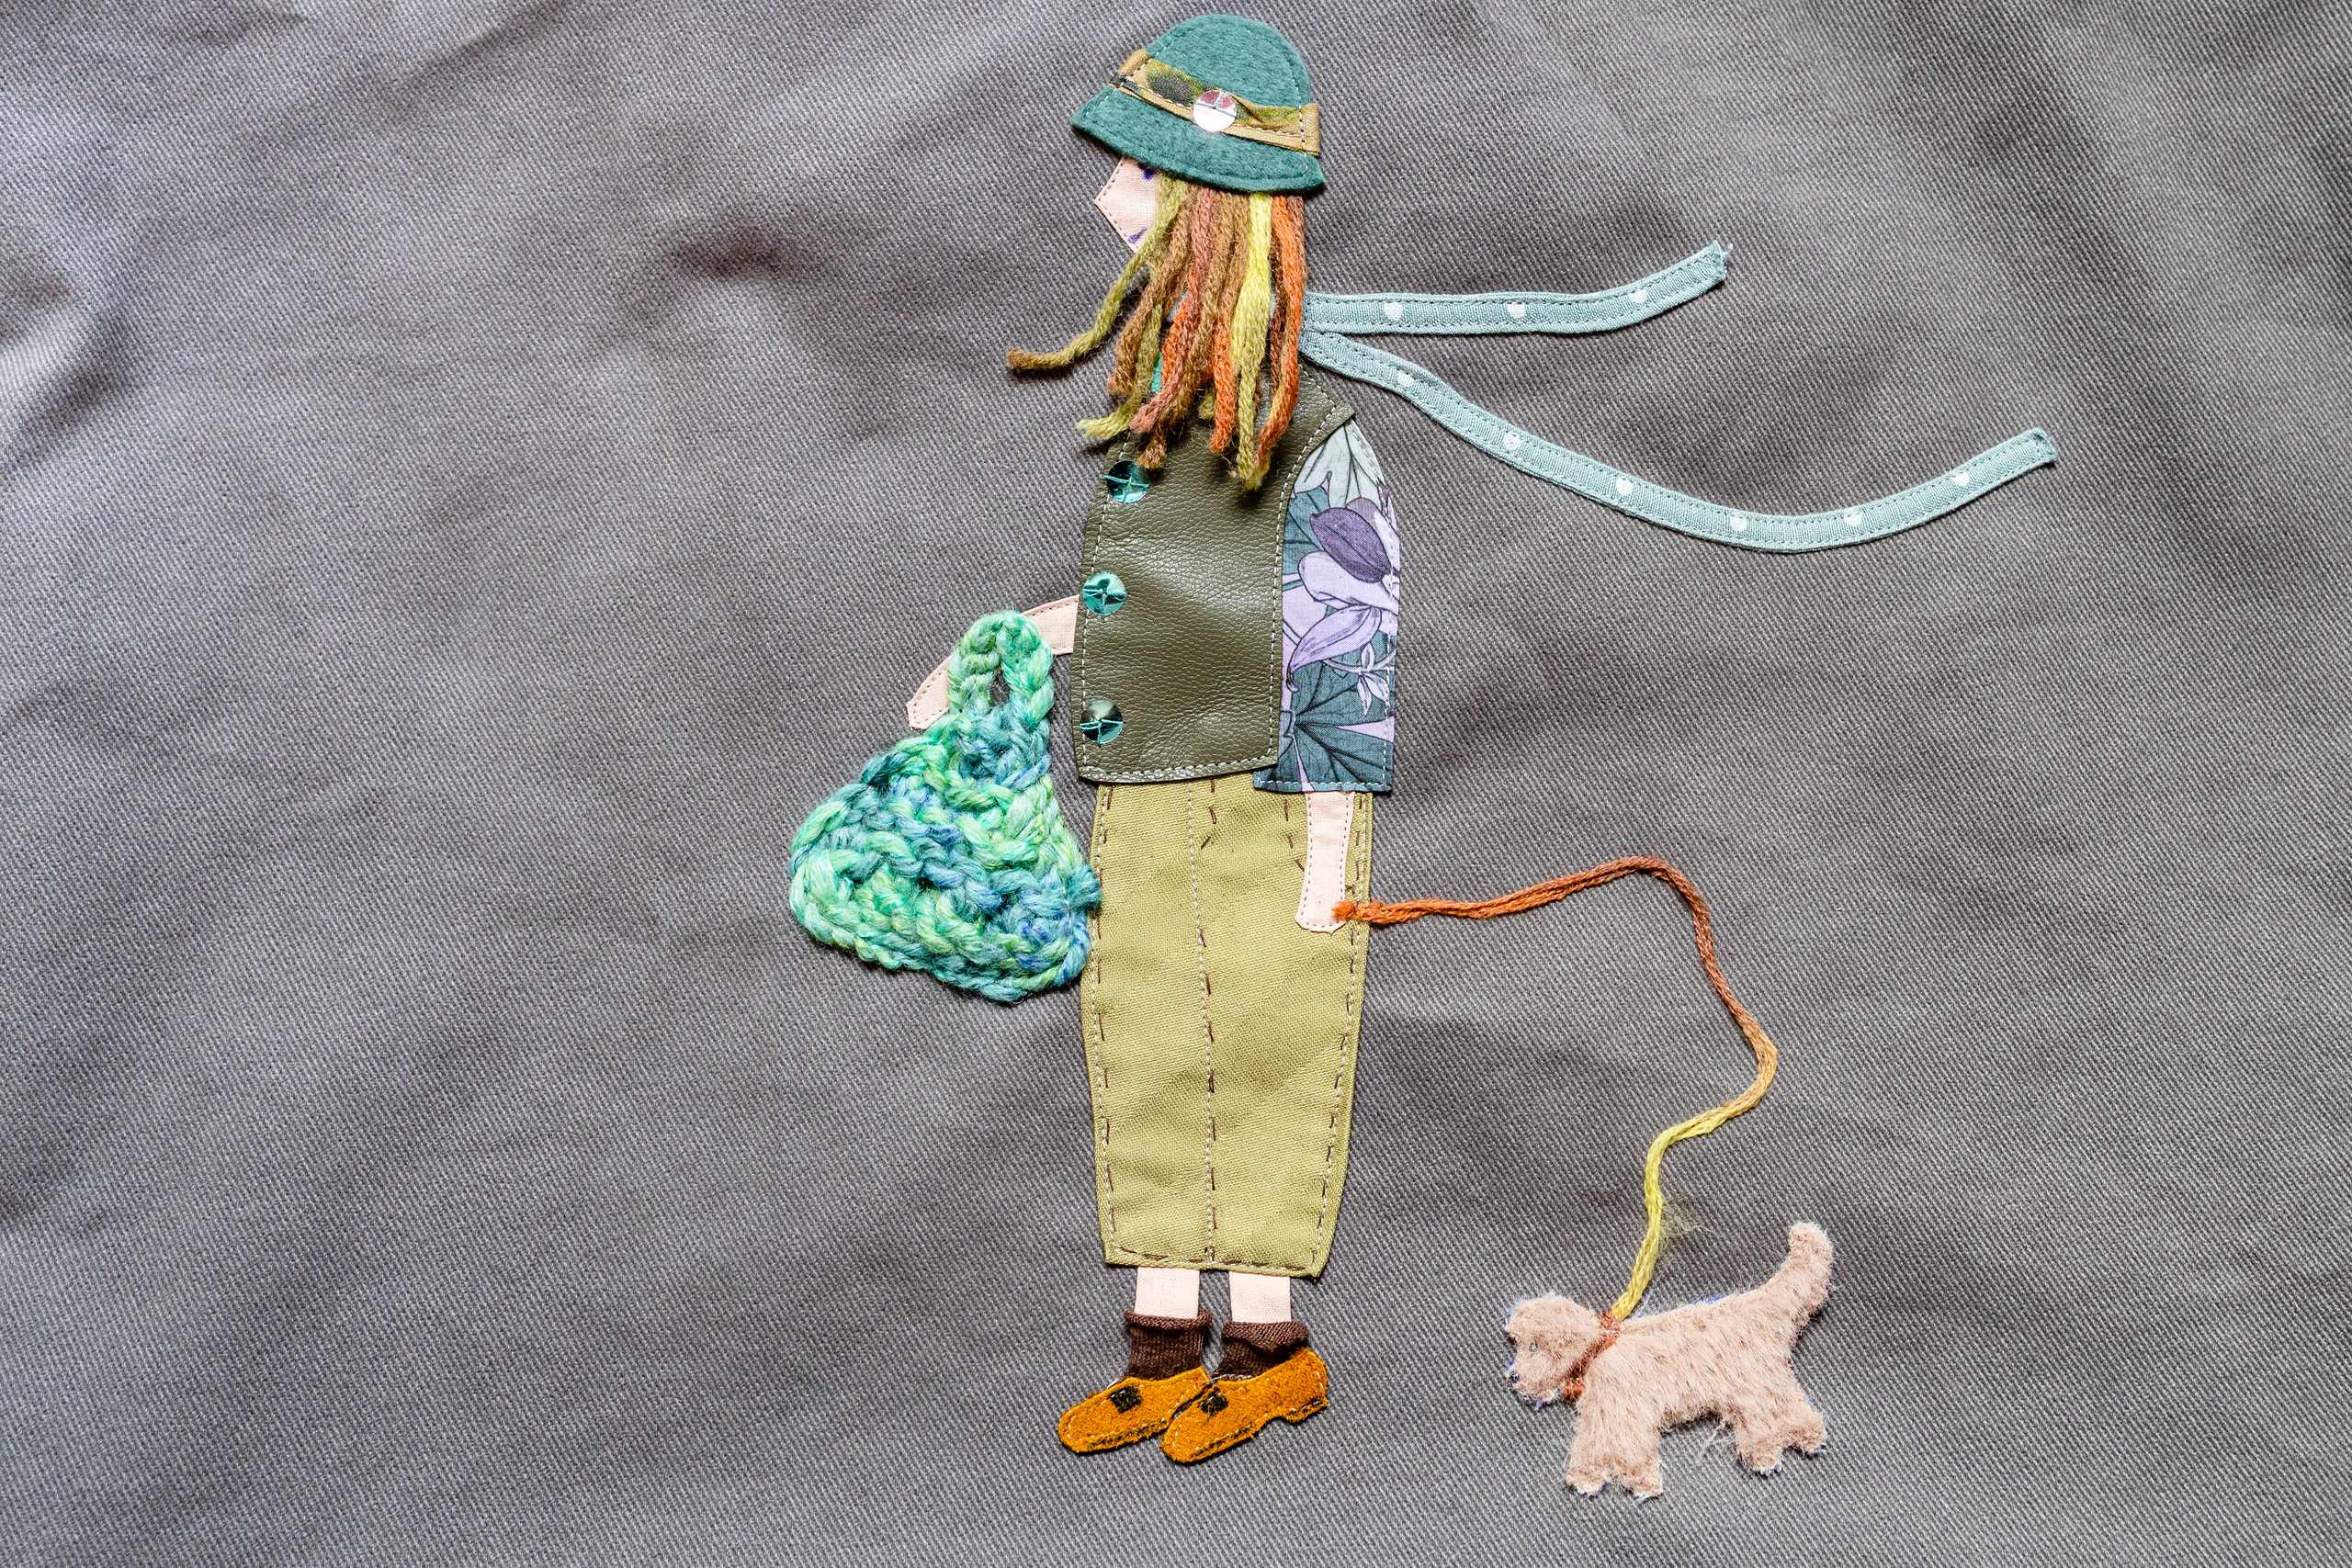
Build The Doll Shape Step By Step
Work from simple pattern pieces and focus on the construction details that affect proportion, symmetry, firmness, and final assembly.
Pattern And Seam Control
Trace paired pieces carefully, cut clean shapes, and keep seam allowances steady around small curves.
Stuffing And Shape
Add fiberfill gradually, compare paired limbs, and adjust fullness before closing or attaching the parts.
Four Details That Change The Finished Doll
Small construction choices can affect the doll long before the final decoration is added, so each stage gets its own practical check.
Smooth Curves
Practice controlled stitching around heads, feet, and body sections.
Balanced Limbs
Compare paired arms and legs for length, fullness, and seam position.
Facial Placement
Mark eyes, mouth, and hairline after the stuffed head takes shape.
Neat Finishing
Close openings carefully and tidy seams, hems, and attached details.
Solve Small Doll-Making Problems Before They Grow
Use practical notes on seam allowance, stuffing, turning narrow pieces, limb placement, yarn hair, and miniature clothing to understand why a project changes shape.
Practice The Parts Before The Whole Doll
Short tests with scrap fabric, sample seams, stuffing, and temporary placement can make the main construction easier to control.
Trace And Cut
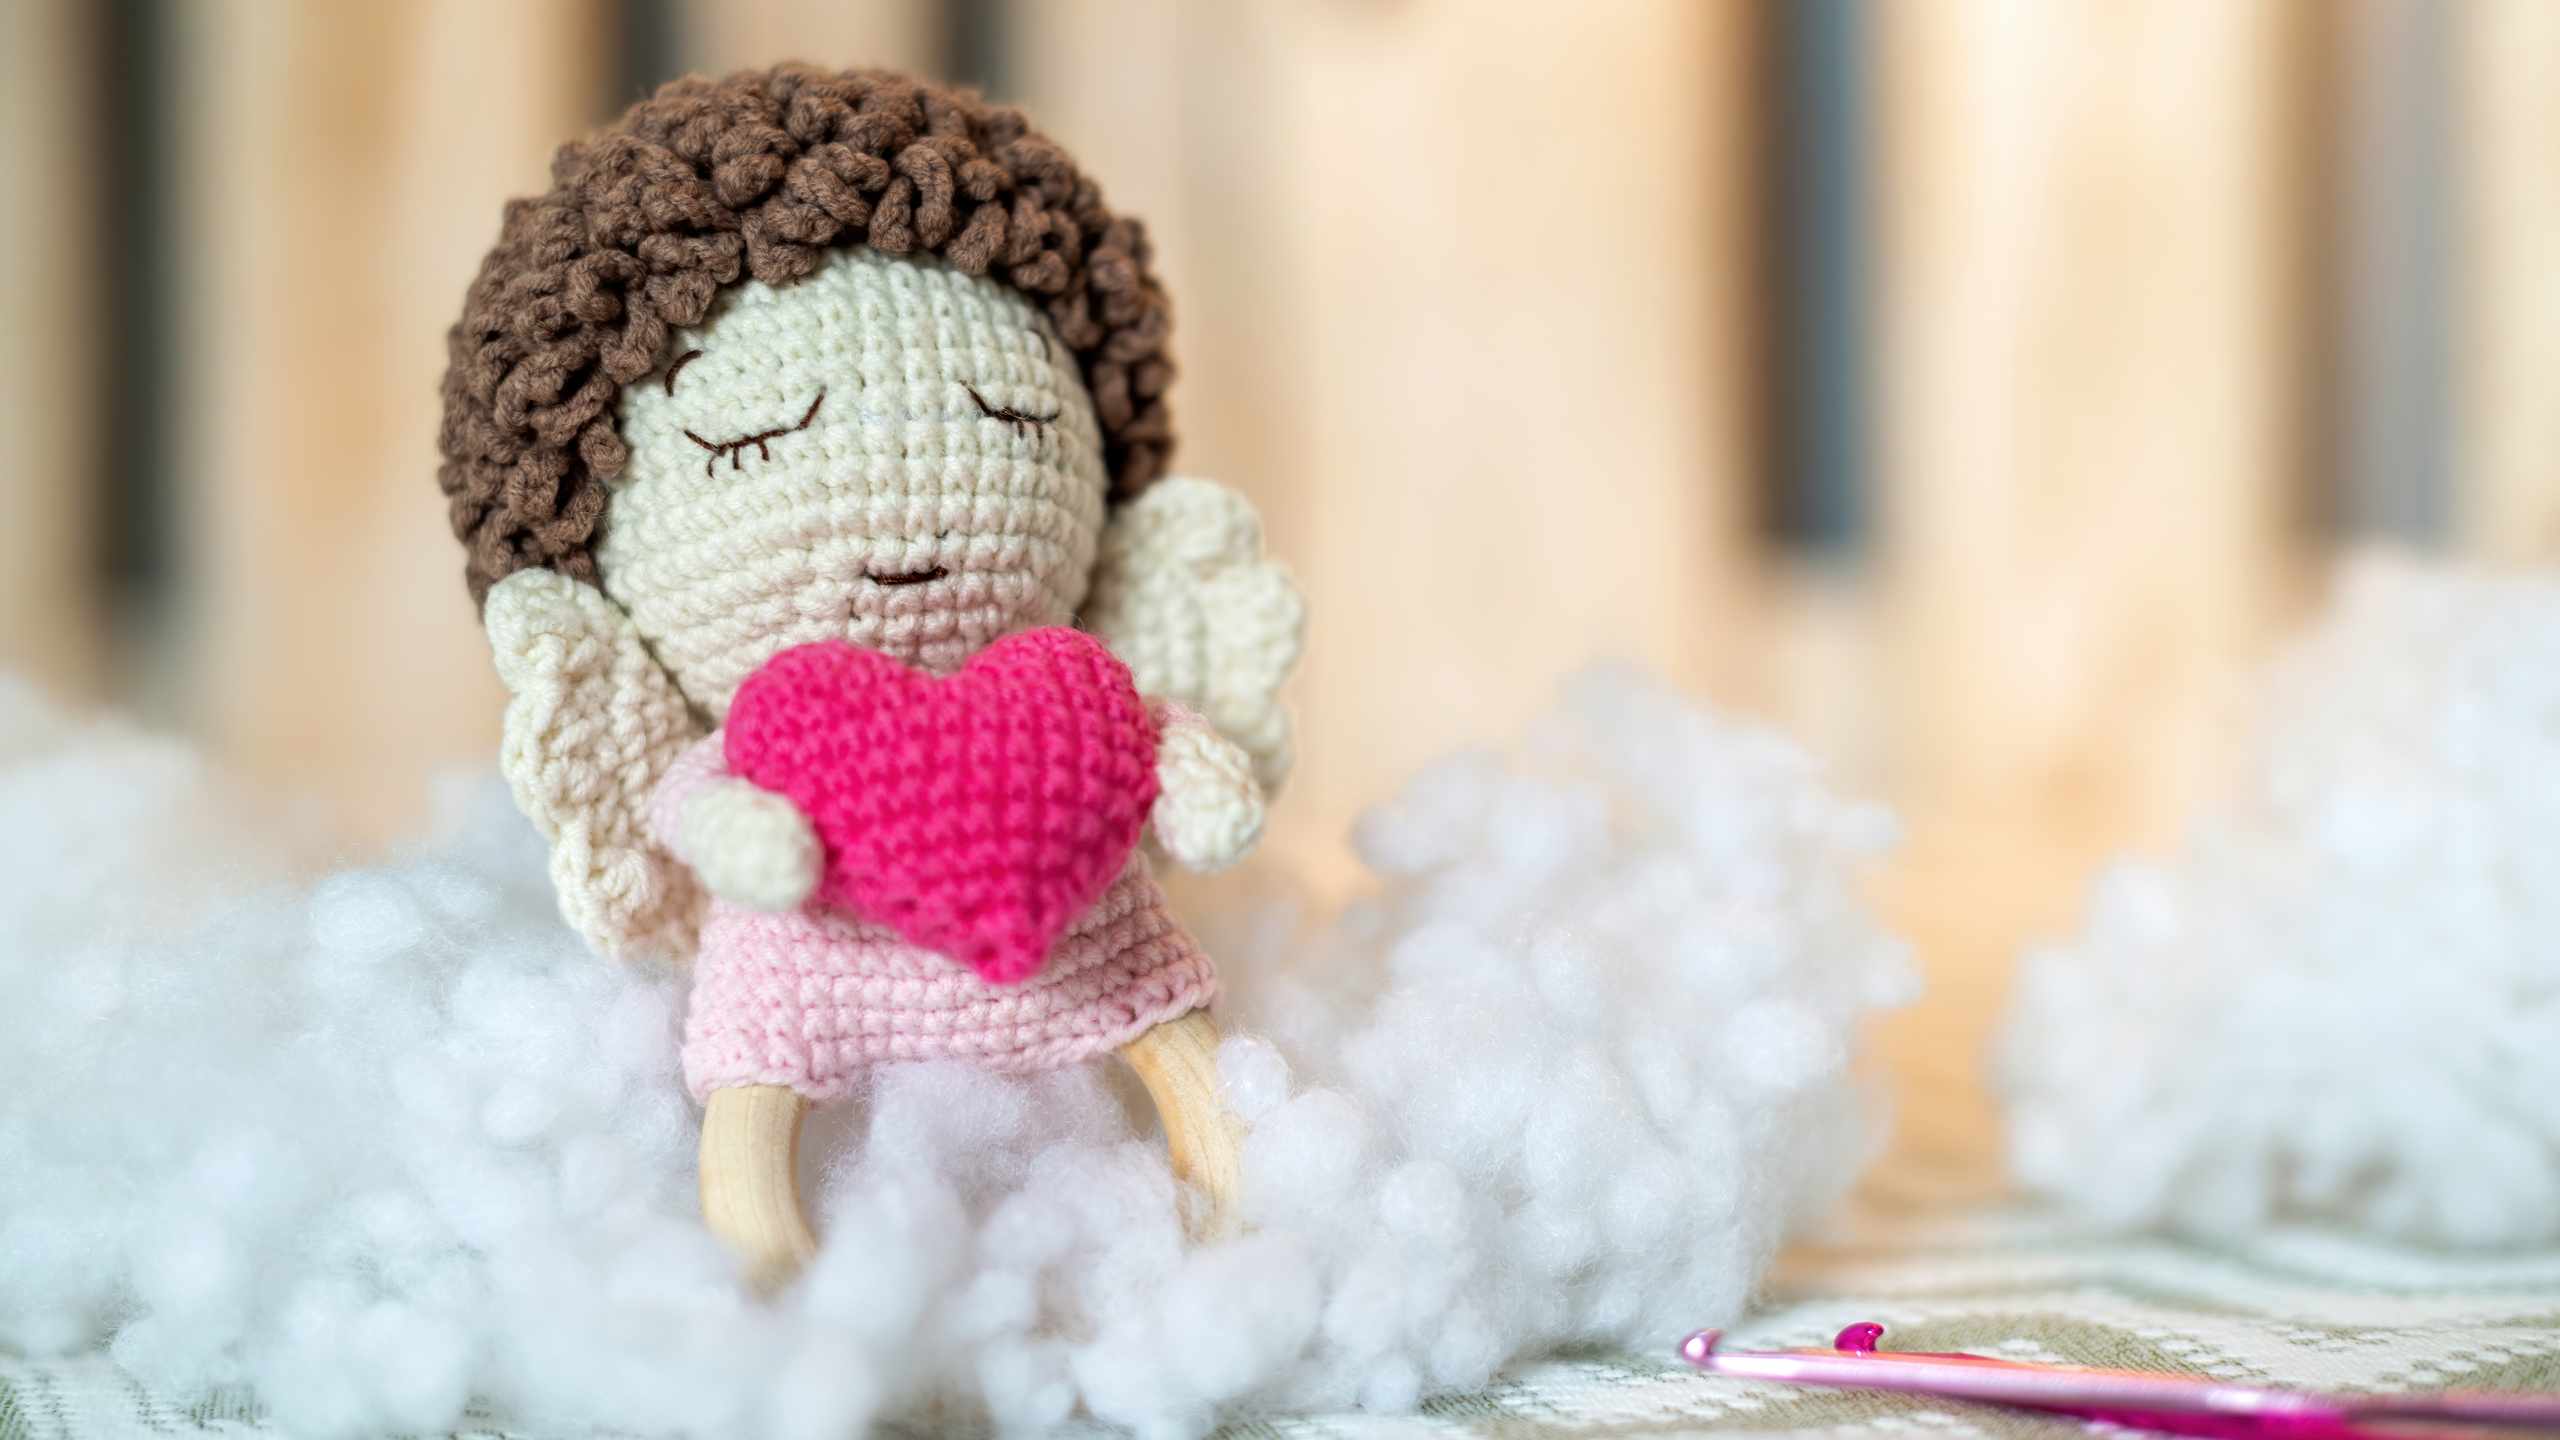
Sew And Stuff
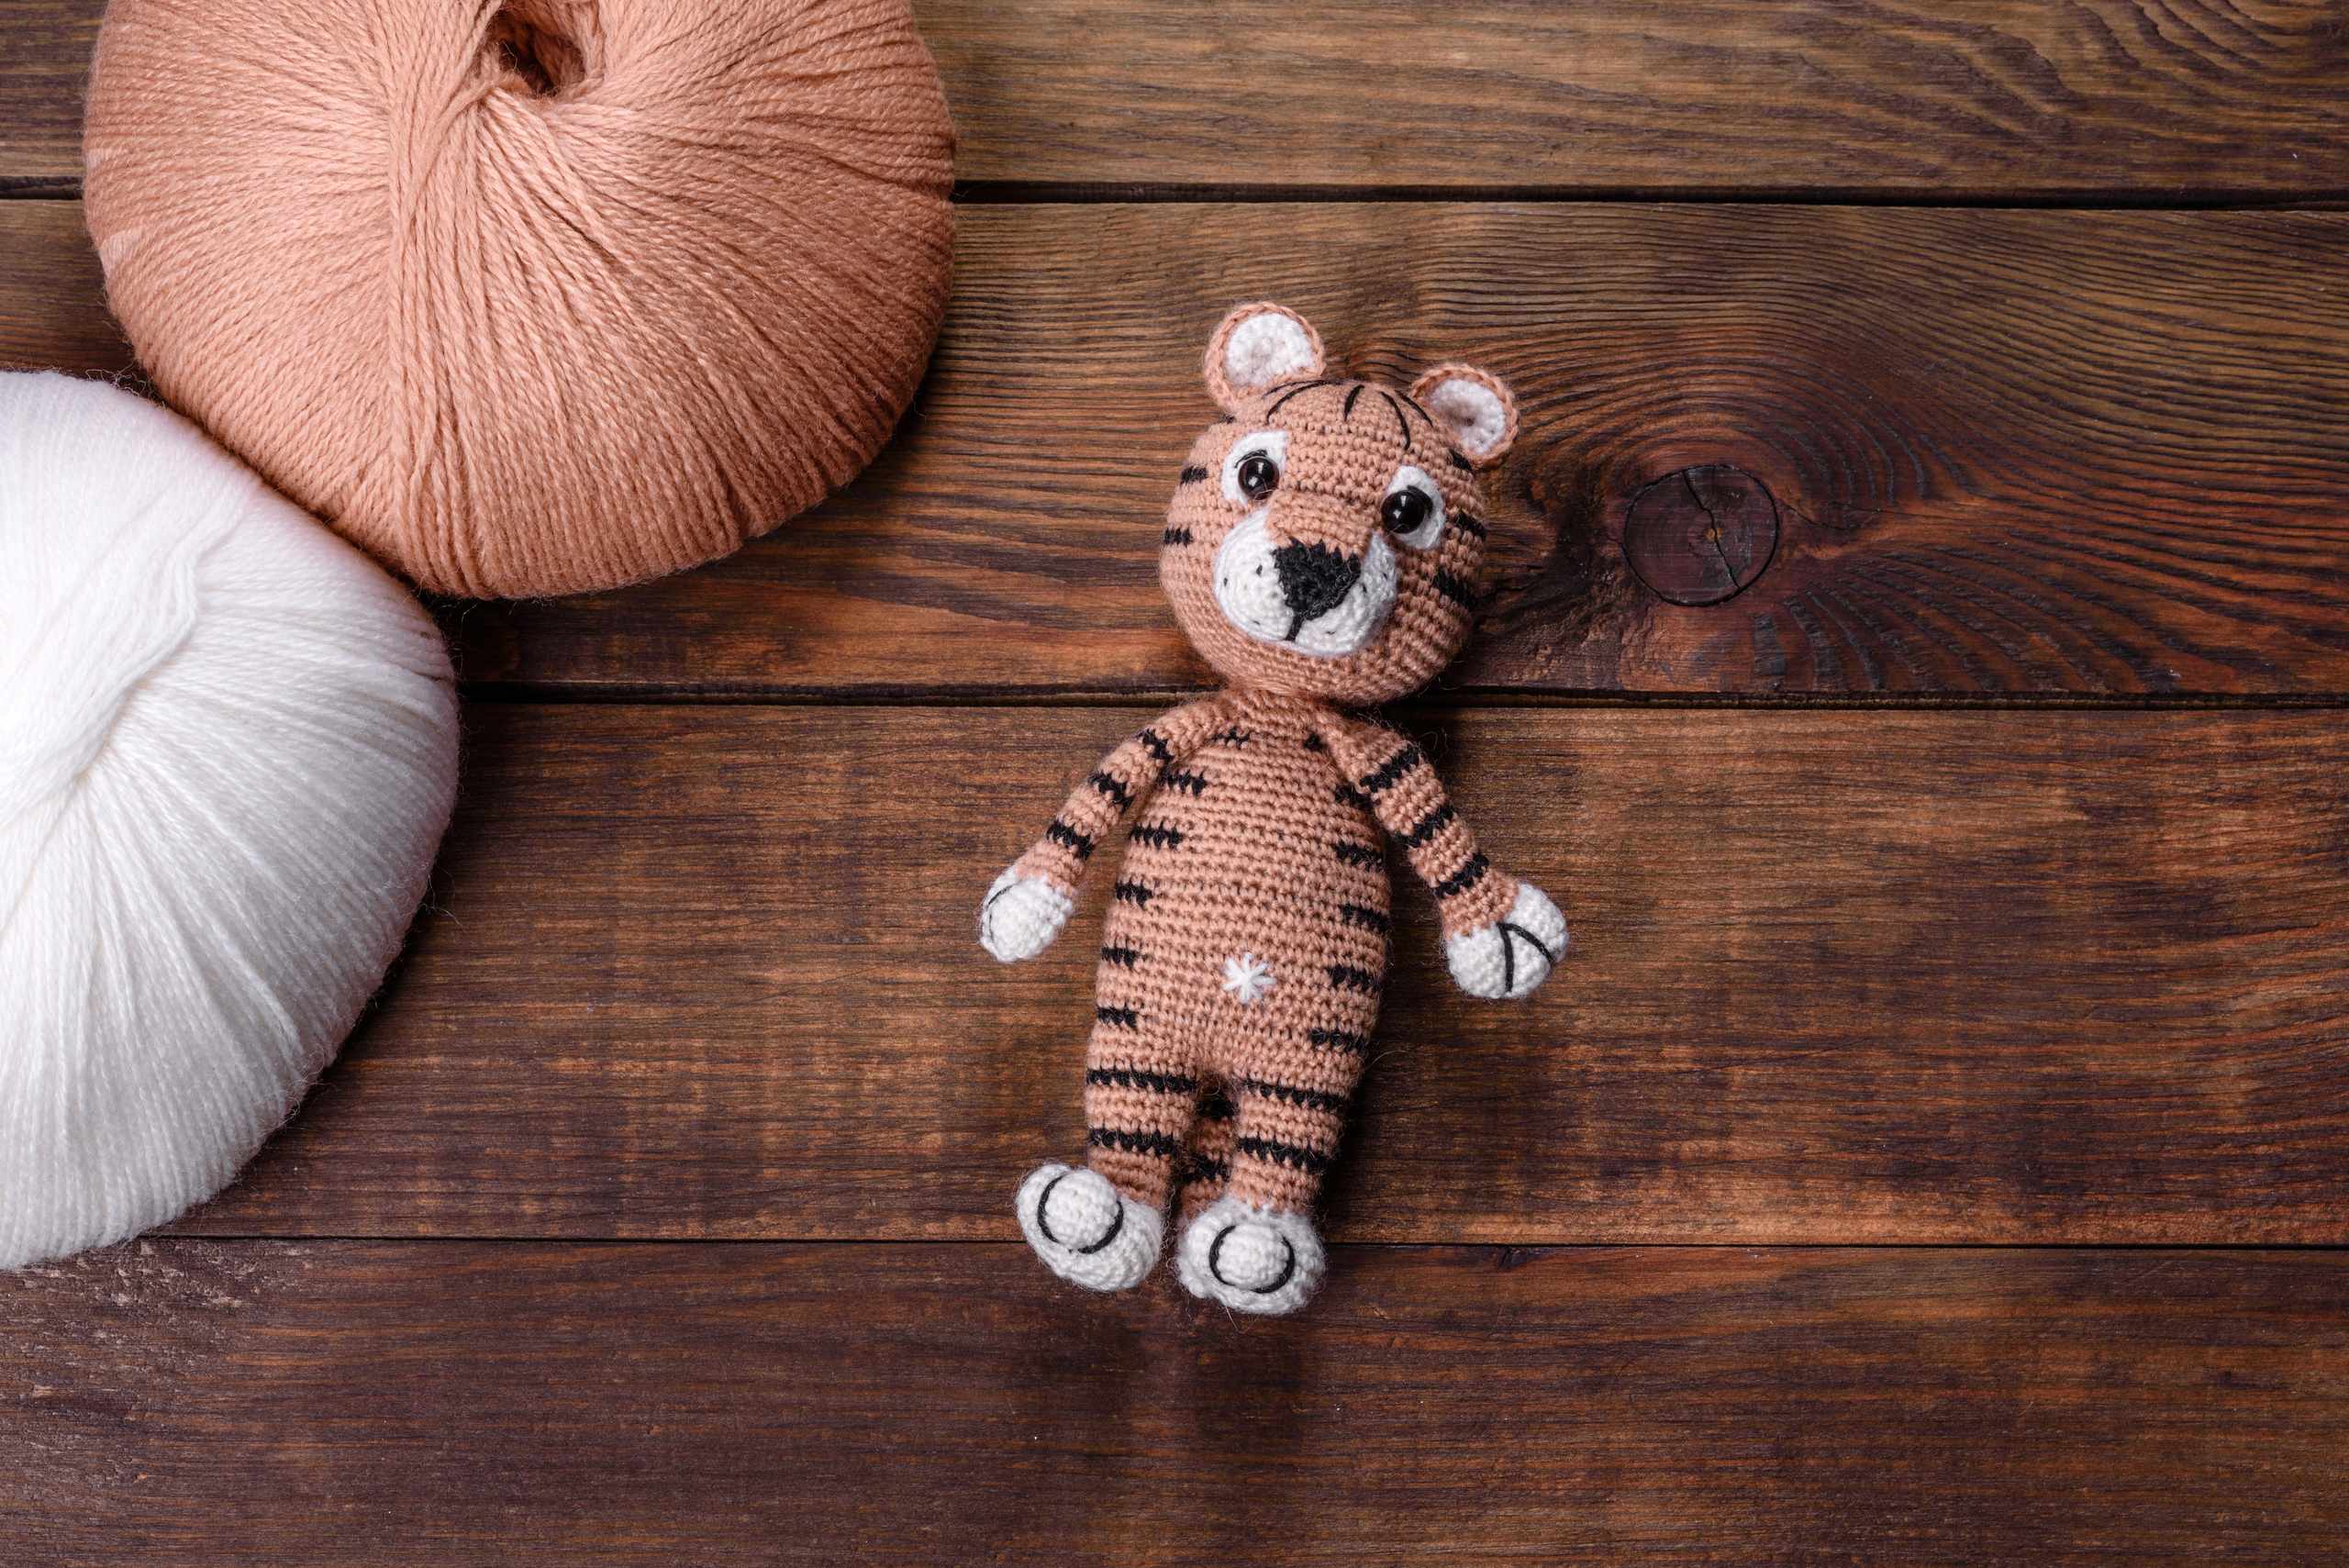
Assemble And Finish
What Learners Notice During Doll-Making Practice
Small improvements often show up in cleaner curves, more even stuffing, better alignment, and calmer decisions about details.
Comparing both arms before assembly helped me notice that I had packed one much more firmly. Adjusting the stuffing made the final shape look far more balanced.

Practicing curved seams on scrap fabric made the head pieces much easier to sew. I could see where my seam allowance changed
instead of guessing afterward.
Waiting until the head was stuffed before placing the eyes made a clear difference. The face was easier to balance, and I stopped rushing into decorative details.