
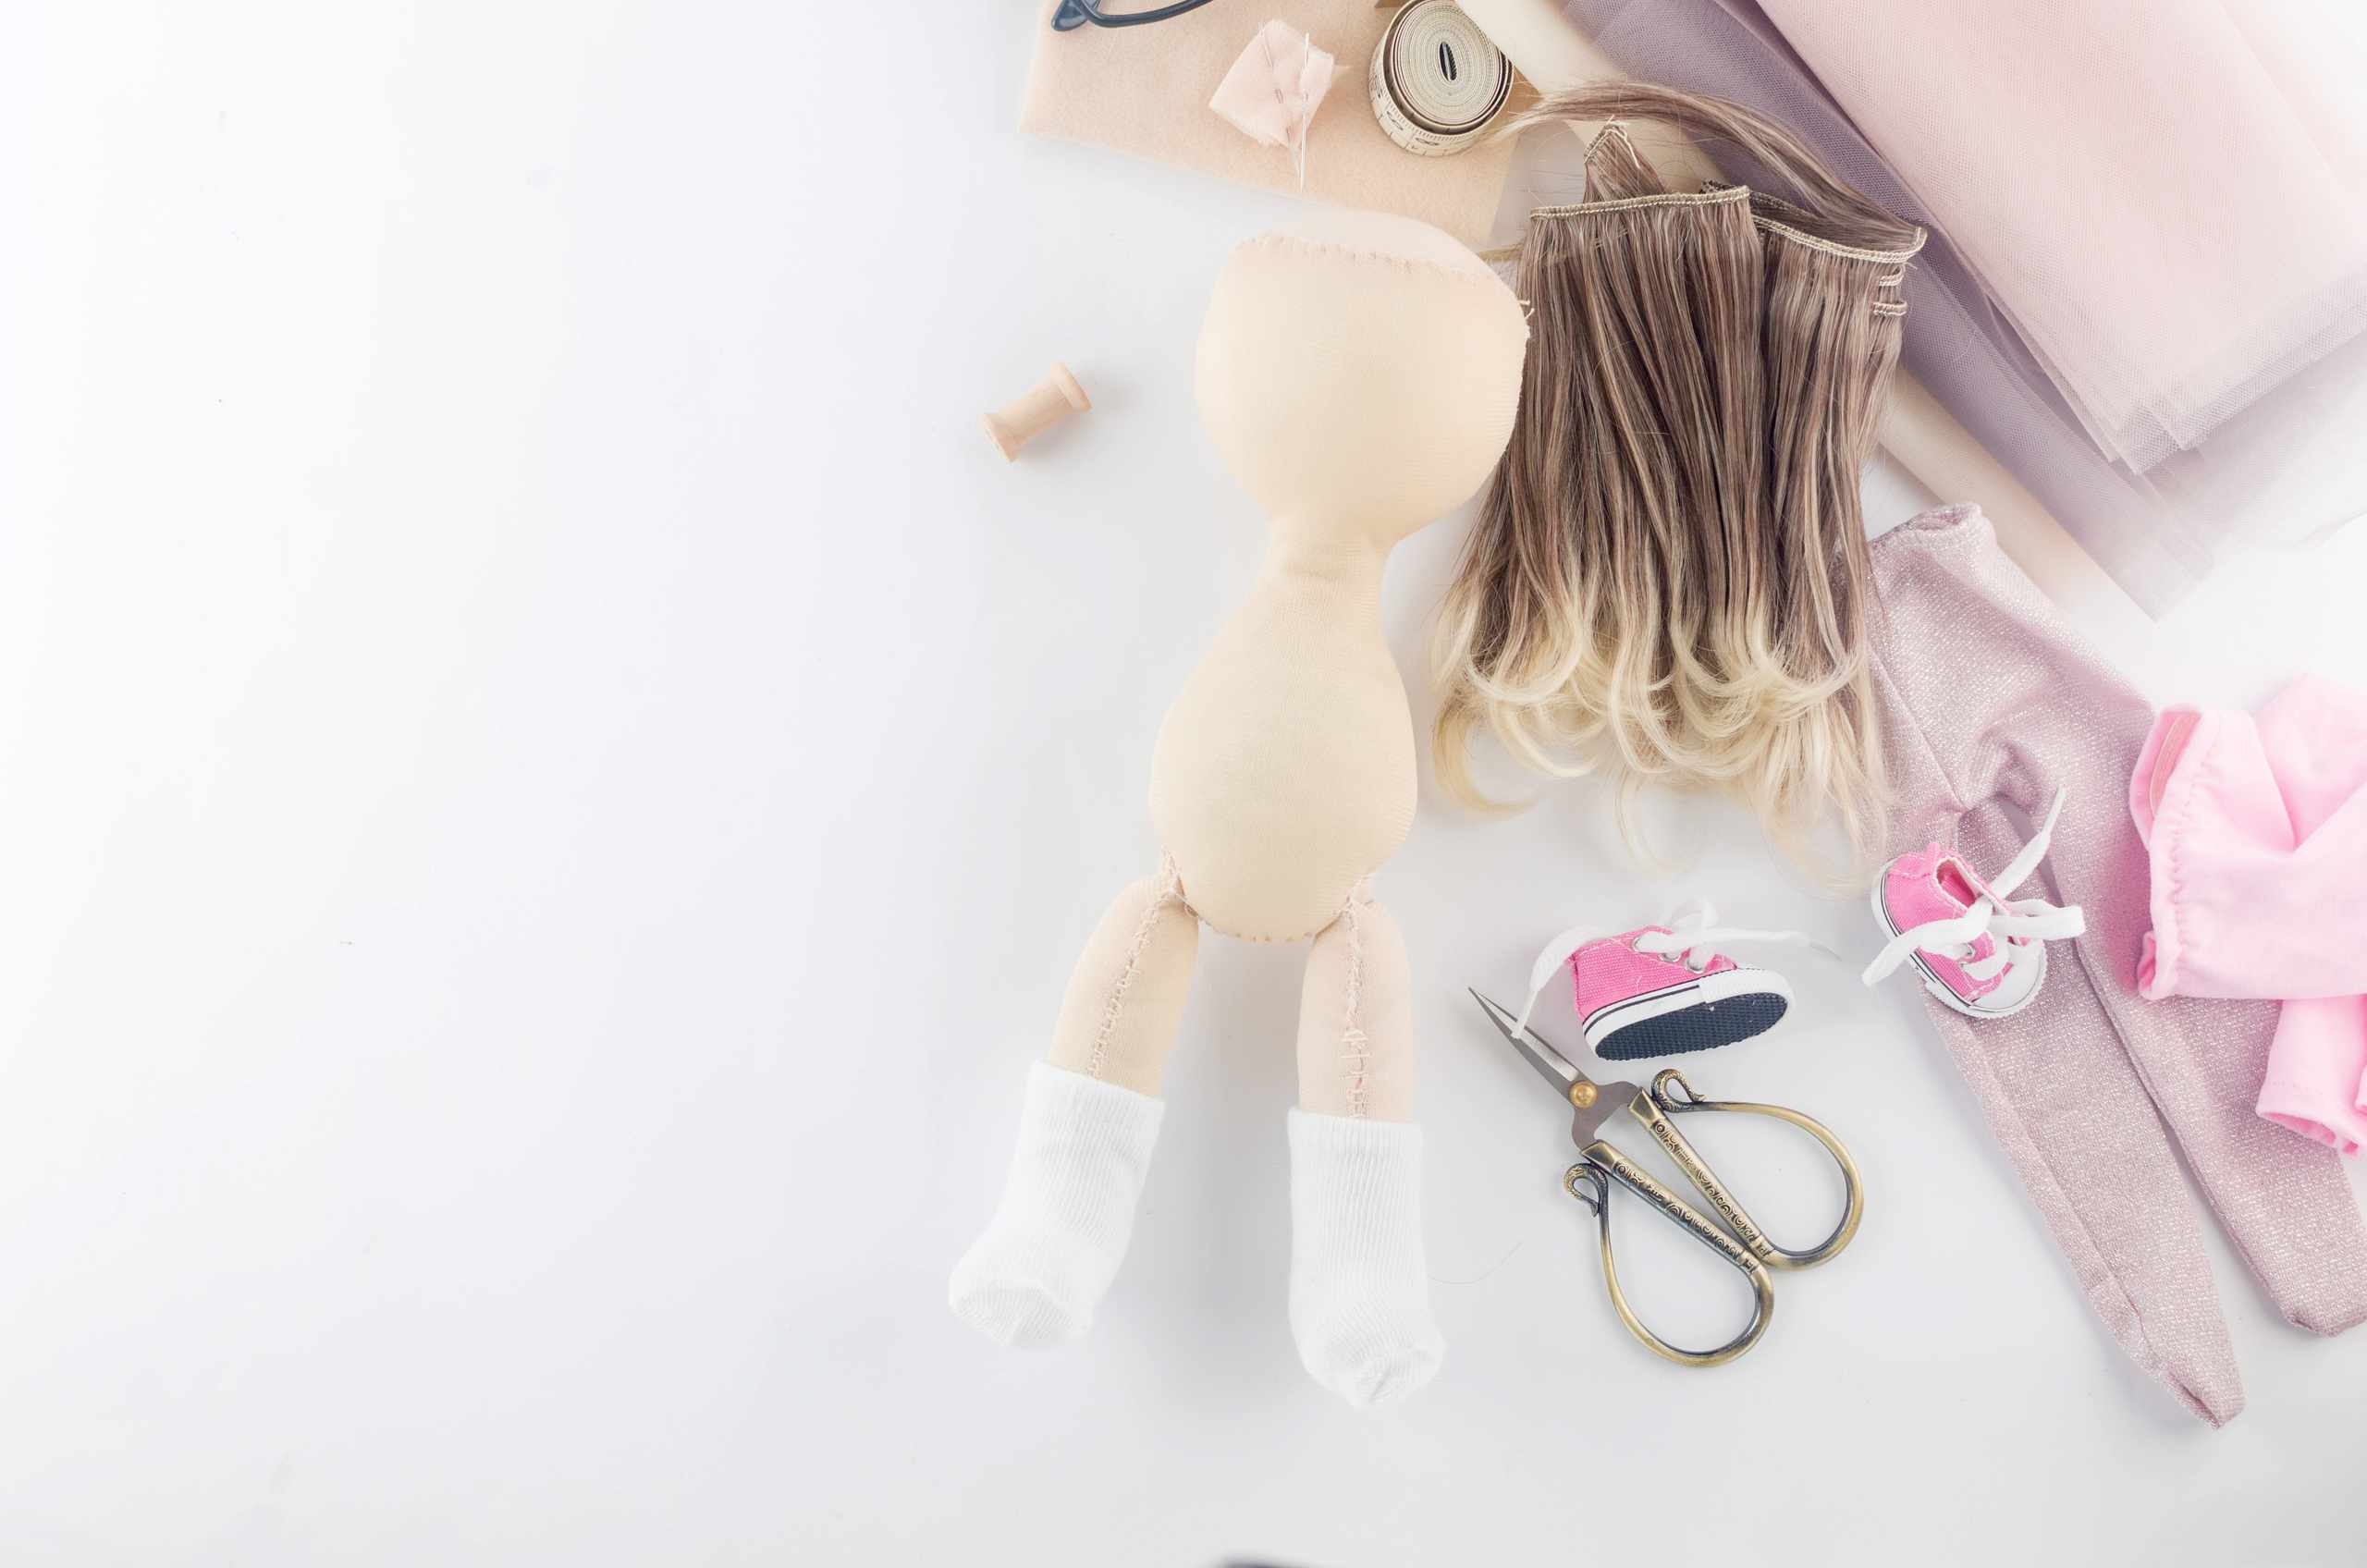
A tiny doll foot might look like a curve on the pattern and turn out oddly pointed when sewn. This also occurs on rounded heads, small hands, and anywhere that the curve requires a rapid change of direction. It’s not a matter of sewing faster or pressing harder. It’s a matter of making smaller adjustments, paying close attention to the seam line, and allowing room for the fabric to relax after turning the piece right side out.
Before sewing the final doll fabric, draw several curved seam lines on a scrap of the same fabric. Include a wide, head-shaped curve, a narrower, hand-shaped curve, and a small foot-shaped curve. Stitch the curves at a steady pace. As the curve becomes tighter, decrease the stitch length slightly and work in small increments rather than trying to turn the fabric through a large angle at once. On a sewing machine, stop with the needle down when you need to change the direction of the fabric. By hand, shorten the stitches around the tightest parts of the curve.
It’s about fabric control, not speed. Tugging at the fabric from underneath will stretch the seam and cause the stitching to stray from the intended line. Shoving from above will create folds ahead of the needle. When sewing on a machine, let the feed dogs advance the fabric, or hold the fabric loosely by hand. Periodically check the width of the seam allowance as the curve progresses. A part that suddenly widens can affect the appearance of a cheek, finger, or toe.
The curve isn’t complete when you finish stitching. The seam allowance left inside a tight curve can pucker after turning, leaving the outside stiff or angular. When the pattern and fabric allow it, trim extra fabric and make small clips or notches in the seam allowance so it can spread or overlap. Leave every clip far enough from the seam line to avoid cutting the stitching. It’s easier to snip another small notch than to fix fabric that was cut too deep.
Sometimes beginners evaluate the curve before it’s turned and shaped. After turning the part right side out, use a blunt tool to coax the fabric into the curve without poking it against the seam. Feel the outside of the fabric and look for flat areas, gathers, or sharp angles. If the issue runs along the stitching, look for the point where you changed direction too sharply. If the stitching looks fine but the fabric bunches inside, the seam allowance may need more clipping.
For the next piece of curved fabric, pick one difficult section and focus on it. Slow down, watch the seam line, adjust gradually, and inspect the seam allowance before turning. Don’t expect to master the curve on the first try. Expect to recognize what caused the flat or angled area so the next doll head, hand, or foot can be stitched with better control.